In order to descend into Area Zero, you’re first going to need to complete Victory Road, Path of Legends, and Starfall Street. After that, you’ll need to have a talk with Arven in front of the Pokémon Lab in Poco Lighthouse, and you’ll then be instructed to head to the Zero Gate. You can find the Zero Gate to the southeast of Medali.
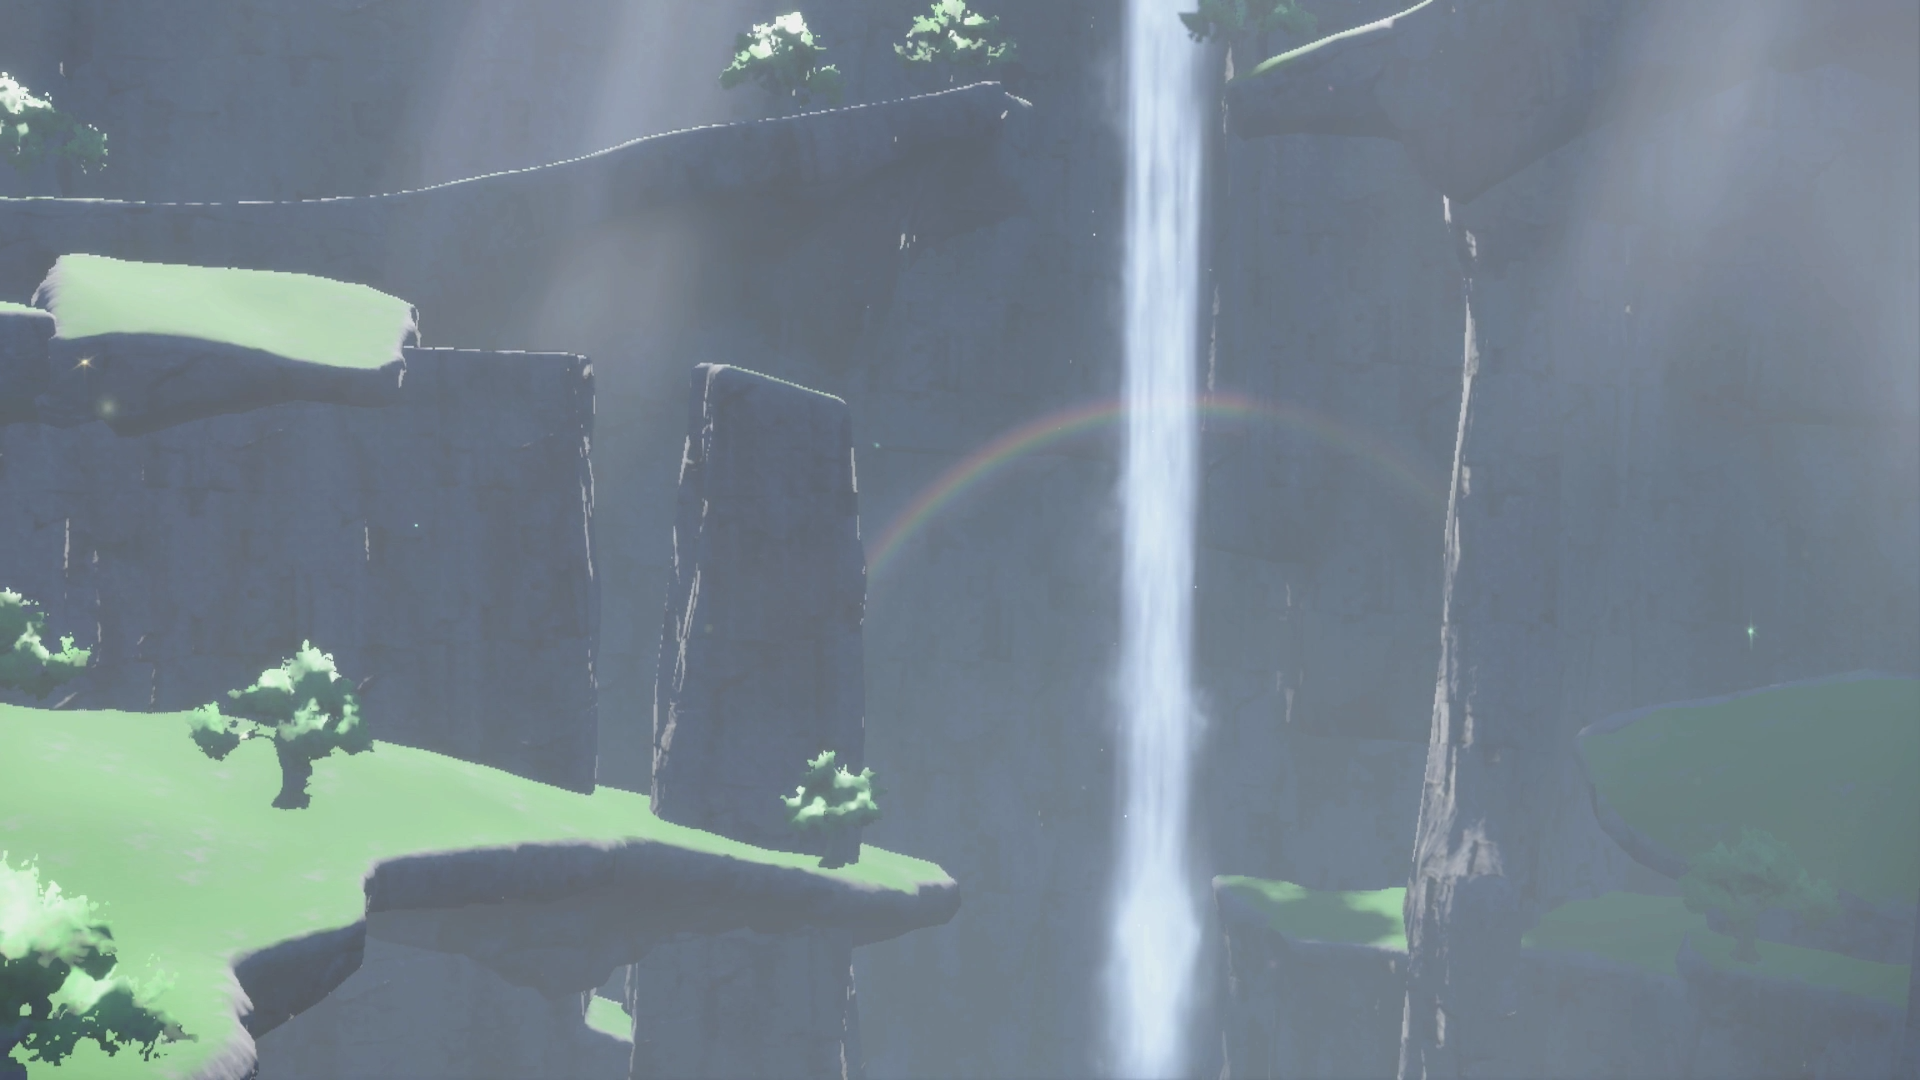
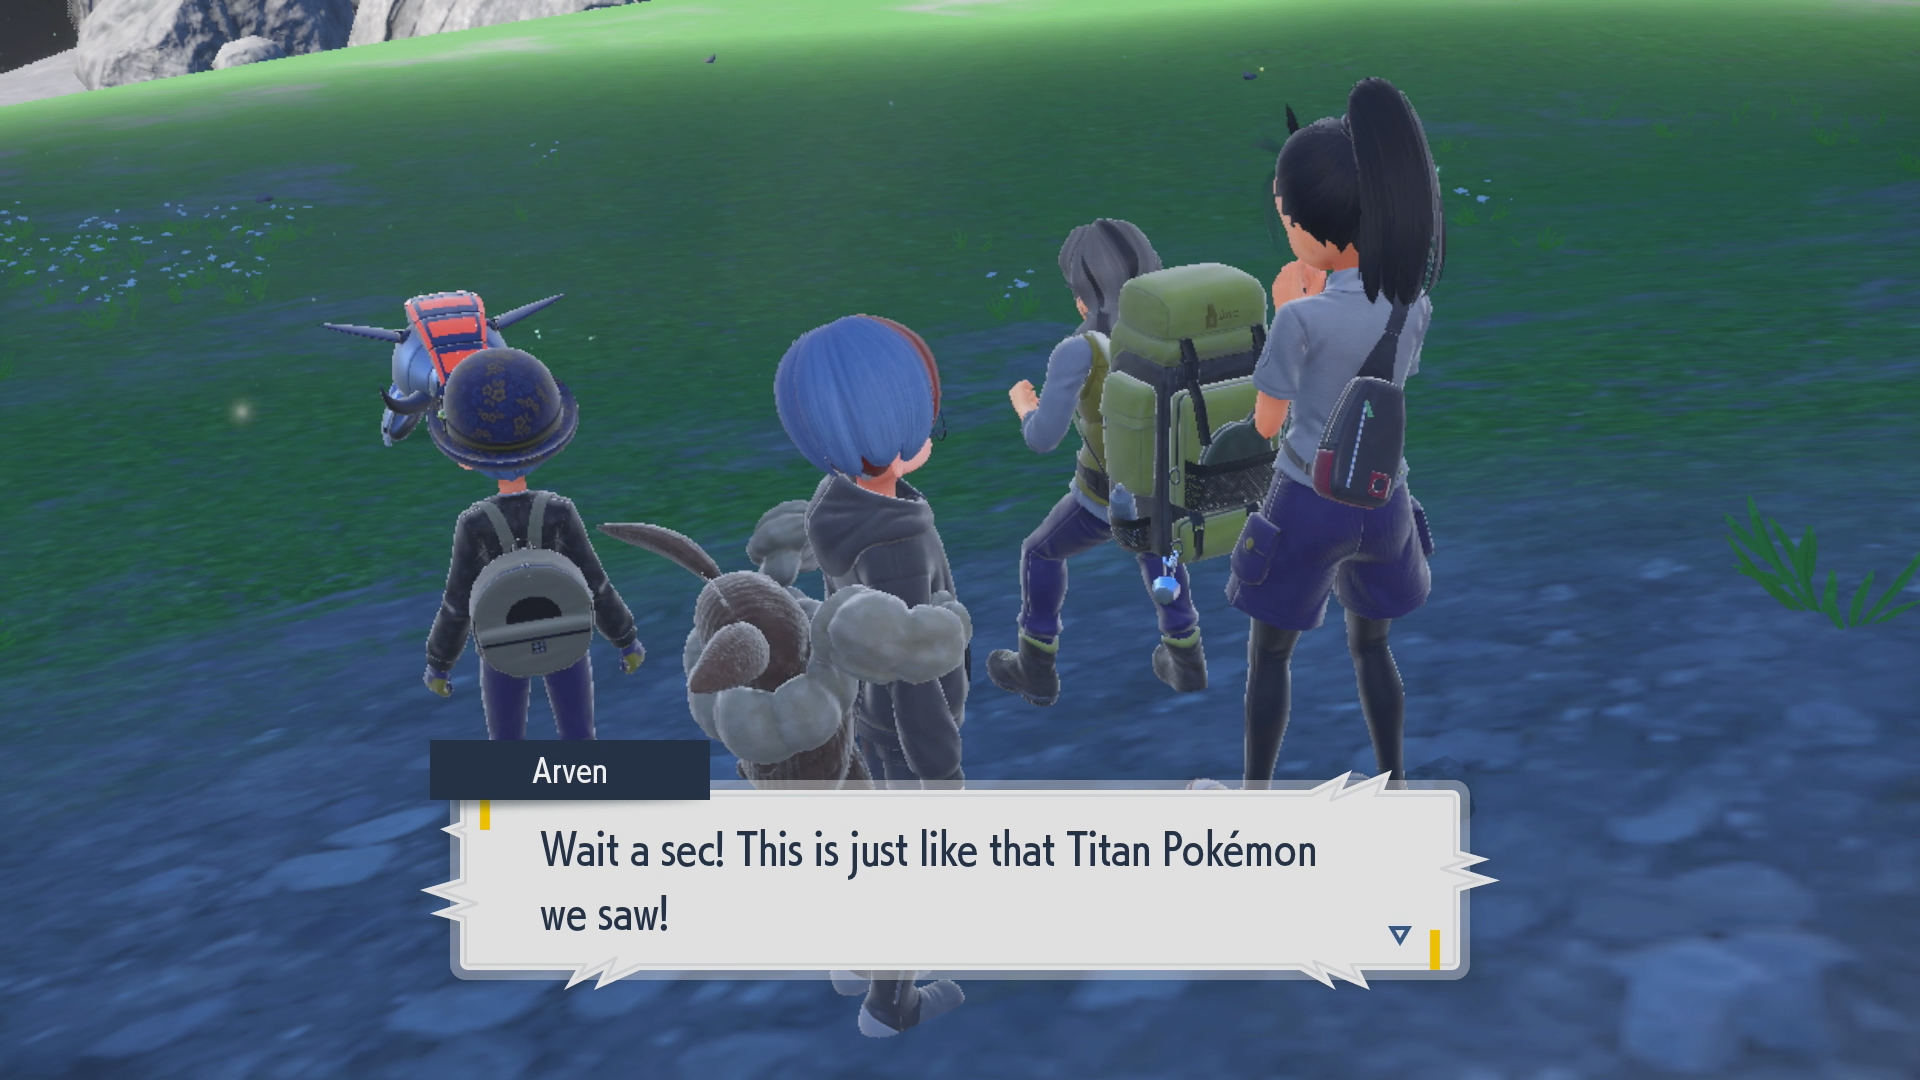
After some dialogue and cutscenes, you’ll arrive down in Area Zero, along with Arven, Nemona, and Penny. Your Koraidon/Miraidon will be too frightened while in Area Zero to leave its Poké Ball, meaning you will not be able to ride on it while you’re down here, at least not until after you’ve finished The Way Home and seen the credits roll. You also will not be able to see a map of this place if you open your map (it will just show you as being in Area Zero), you cannot hold a Picnic while down here, and you also cannot have other players down with you while in multiplayer.
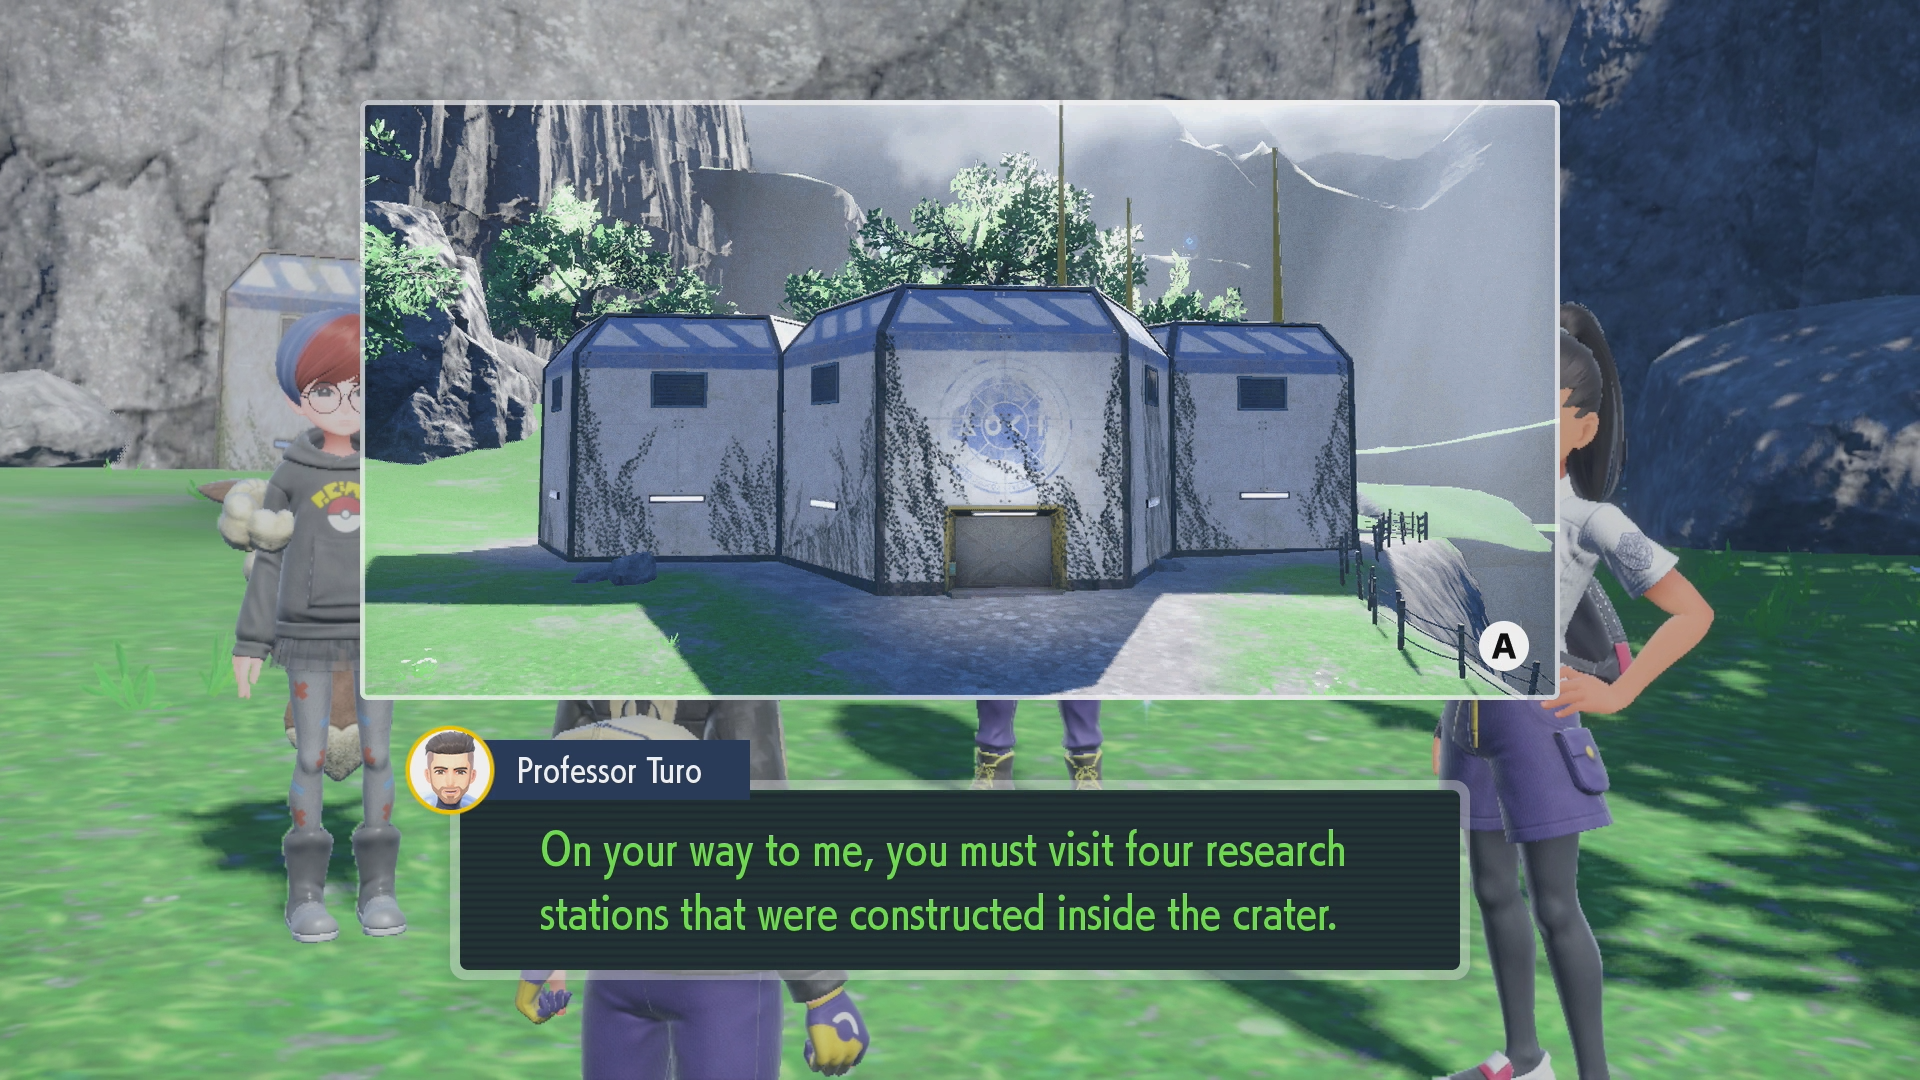
Your goal is to locate the four research stations and deactivate the lock mechanisms in each of them, which will open up the door in the Zero Lab at the very bottom of Area Zero. Three of the research labs can be found above the surface, which will be covered on this page, and then the remainder of your adventure will be split into other pages.
How to Leave Area Zero
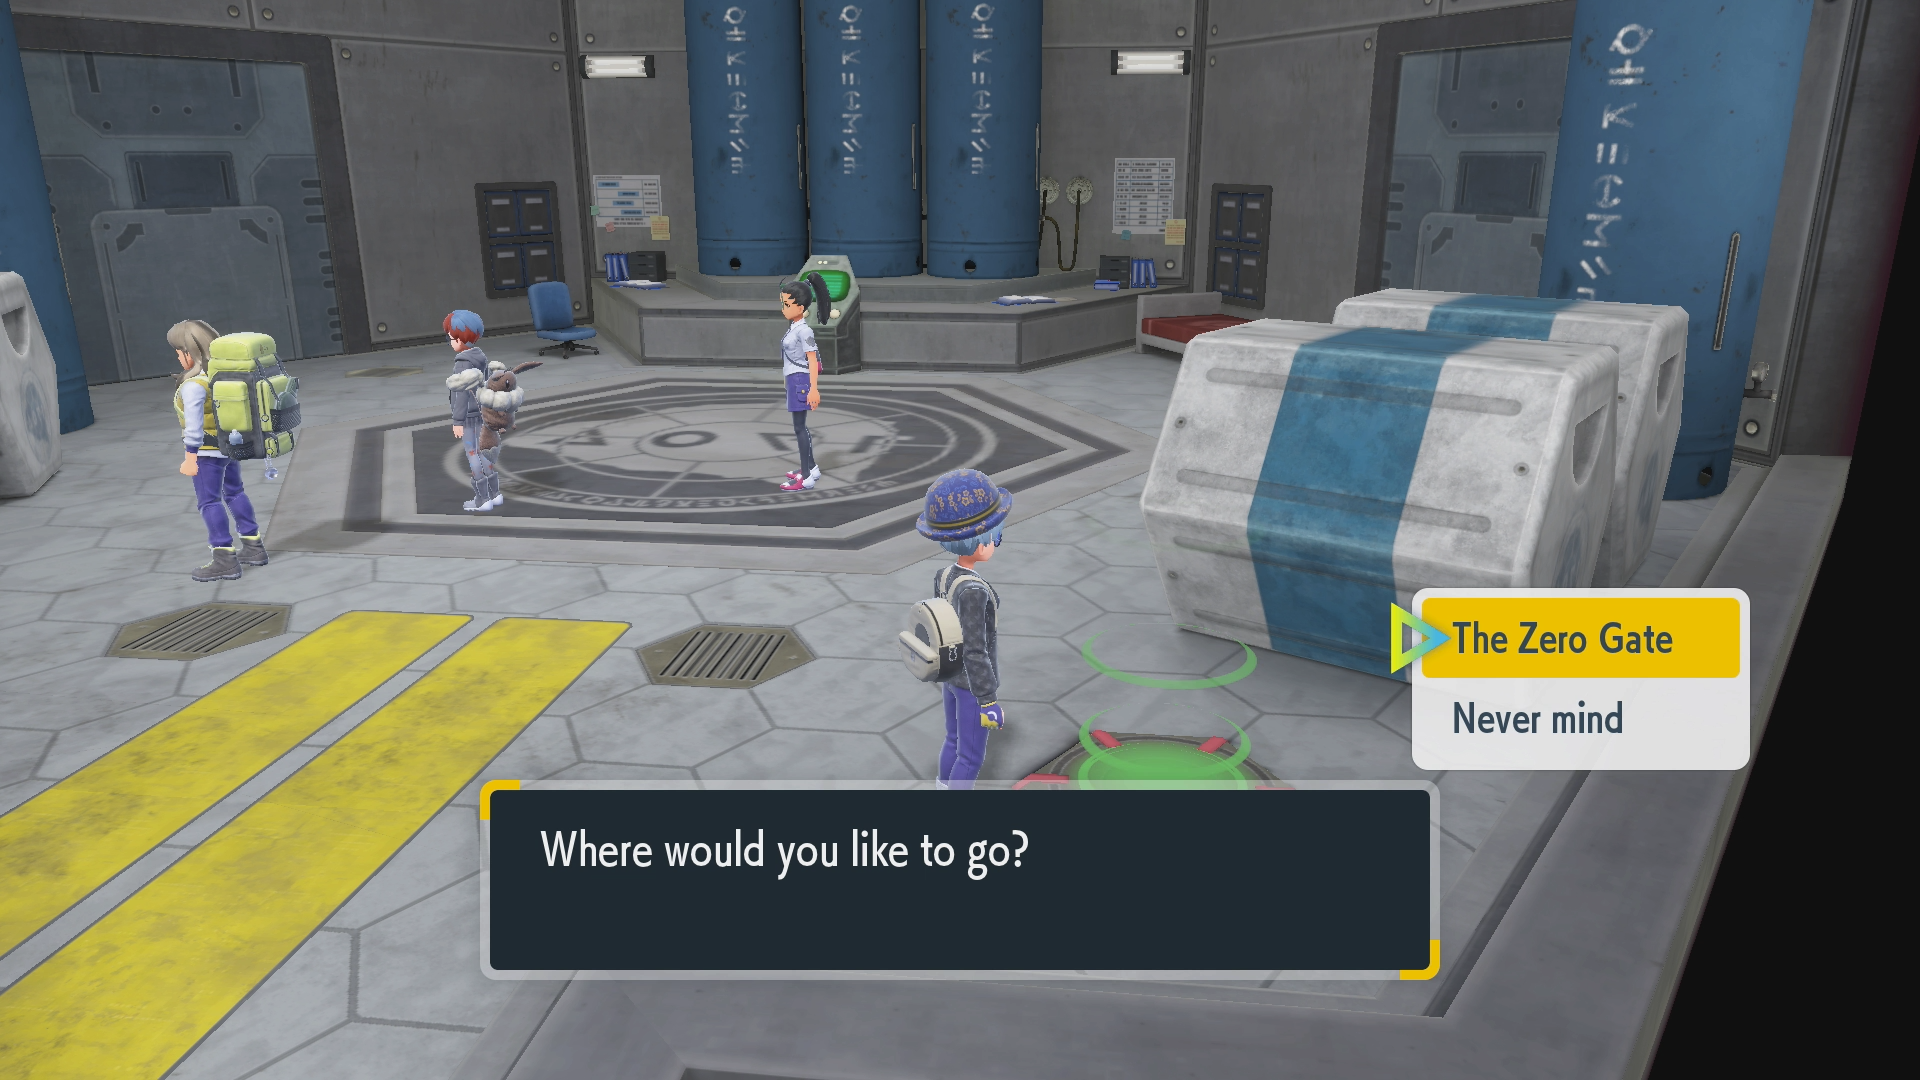
If you need to leave Area Zero for any reason, you can call a Flying Taxi by opening your map and then flying to any other location on your map. You can fly out of Area Zero easily, don’t worry. You can also travel back to Area Zero by flying back to the Zero Gate and then using the teleporter in the middle of the room, which will transport you to one of the research stations you’ve visited (or you can fly down to the start if you haven’t visited any yet).
Getting to Research Station #1
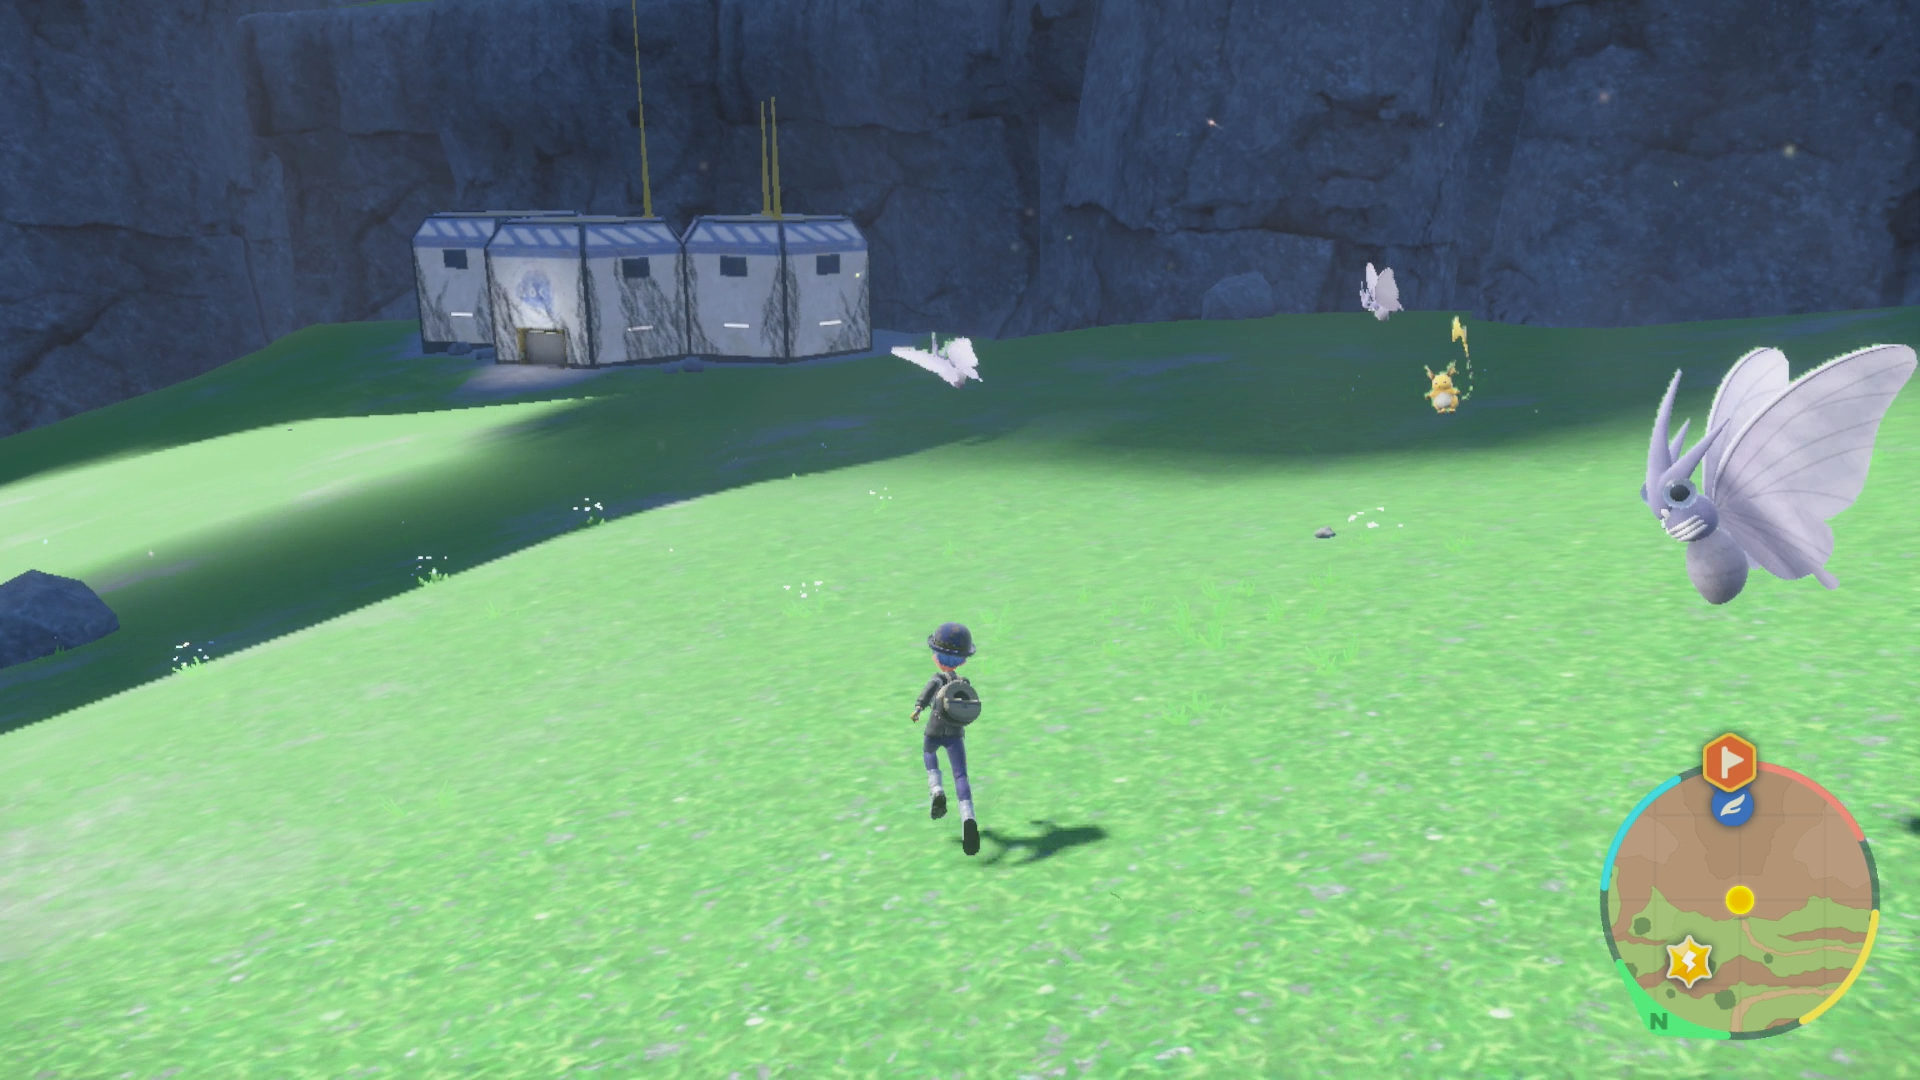
Your first order of business is to head to Research Station #1. You’re going to have to walk there, since you can’t ride on Koraidon/Miraidon, but that’s fine, at least it’s a very scenic view.
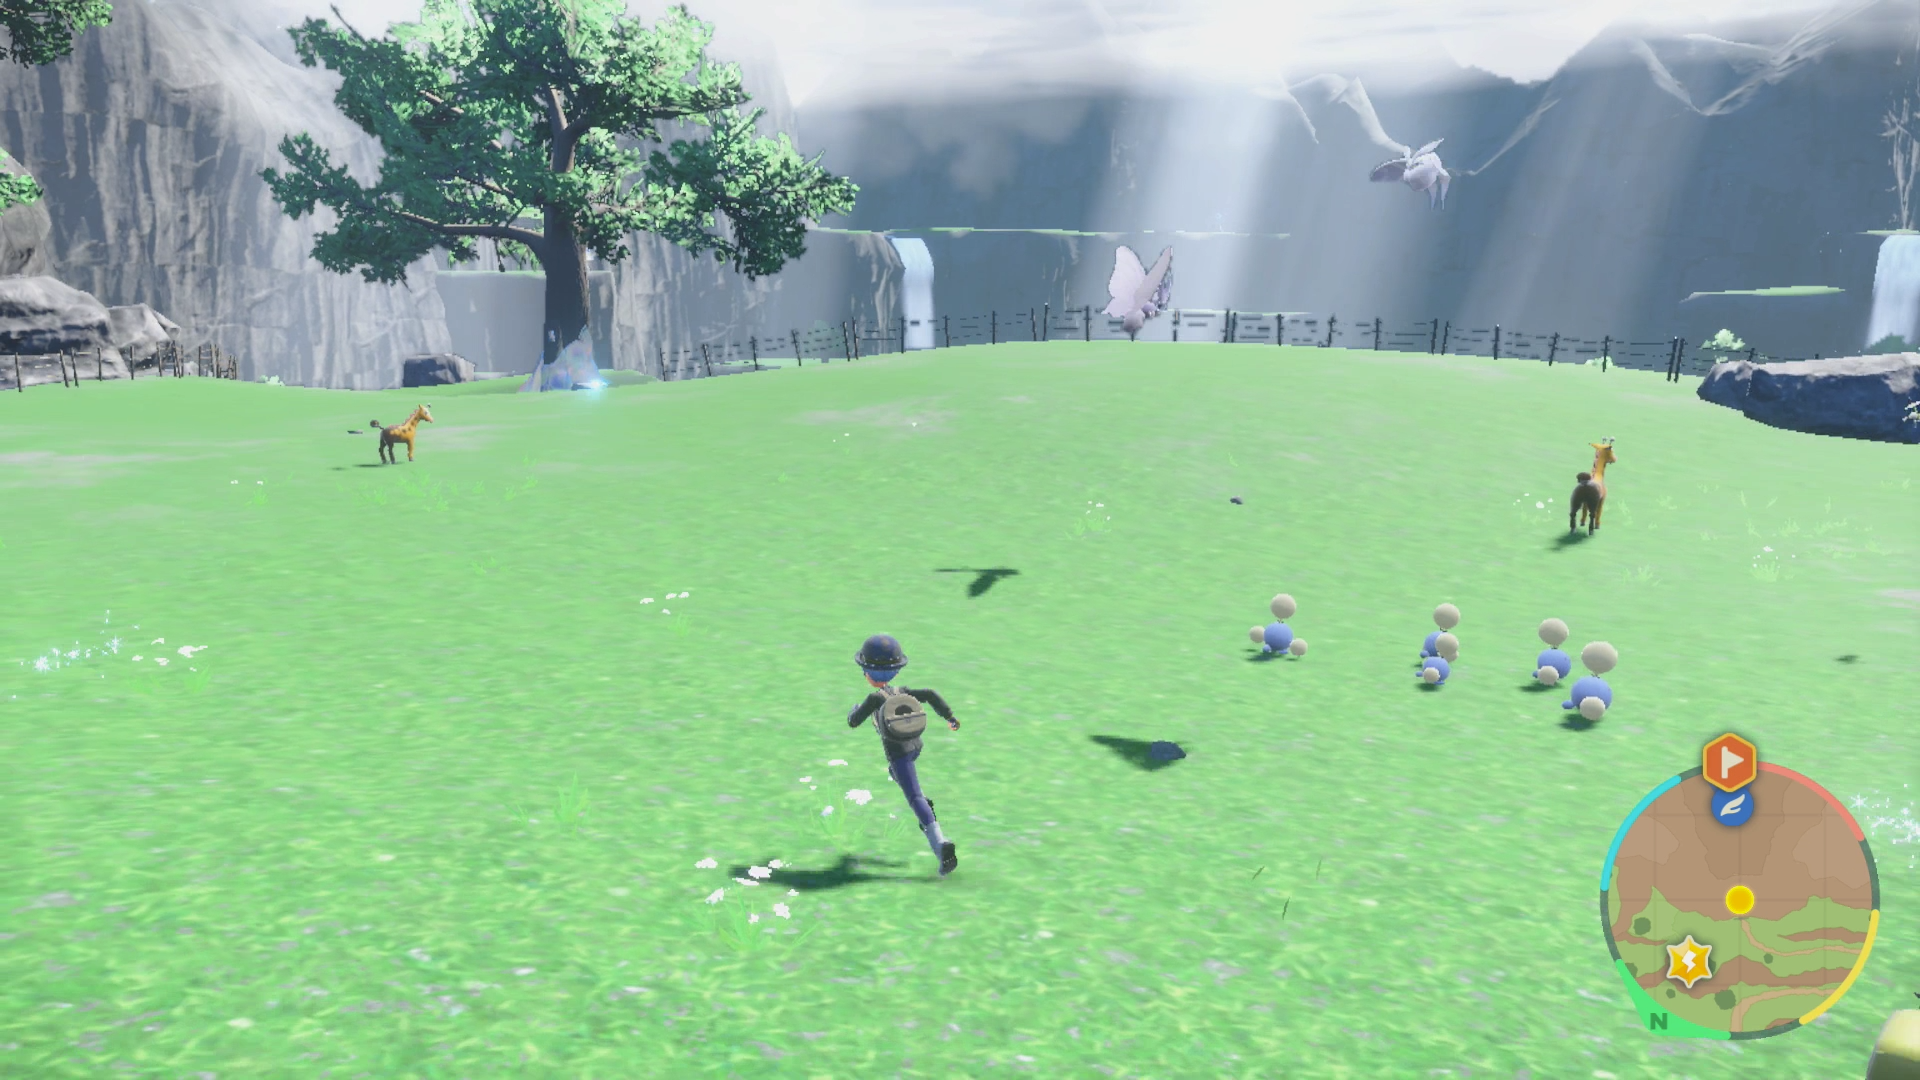
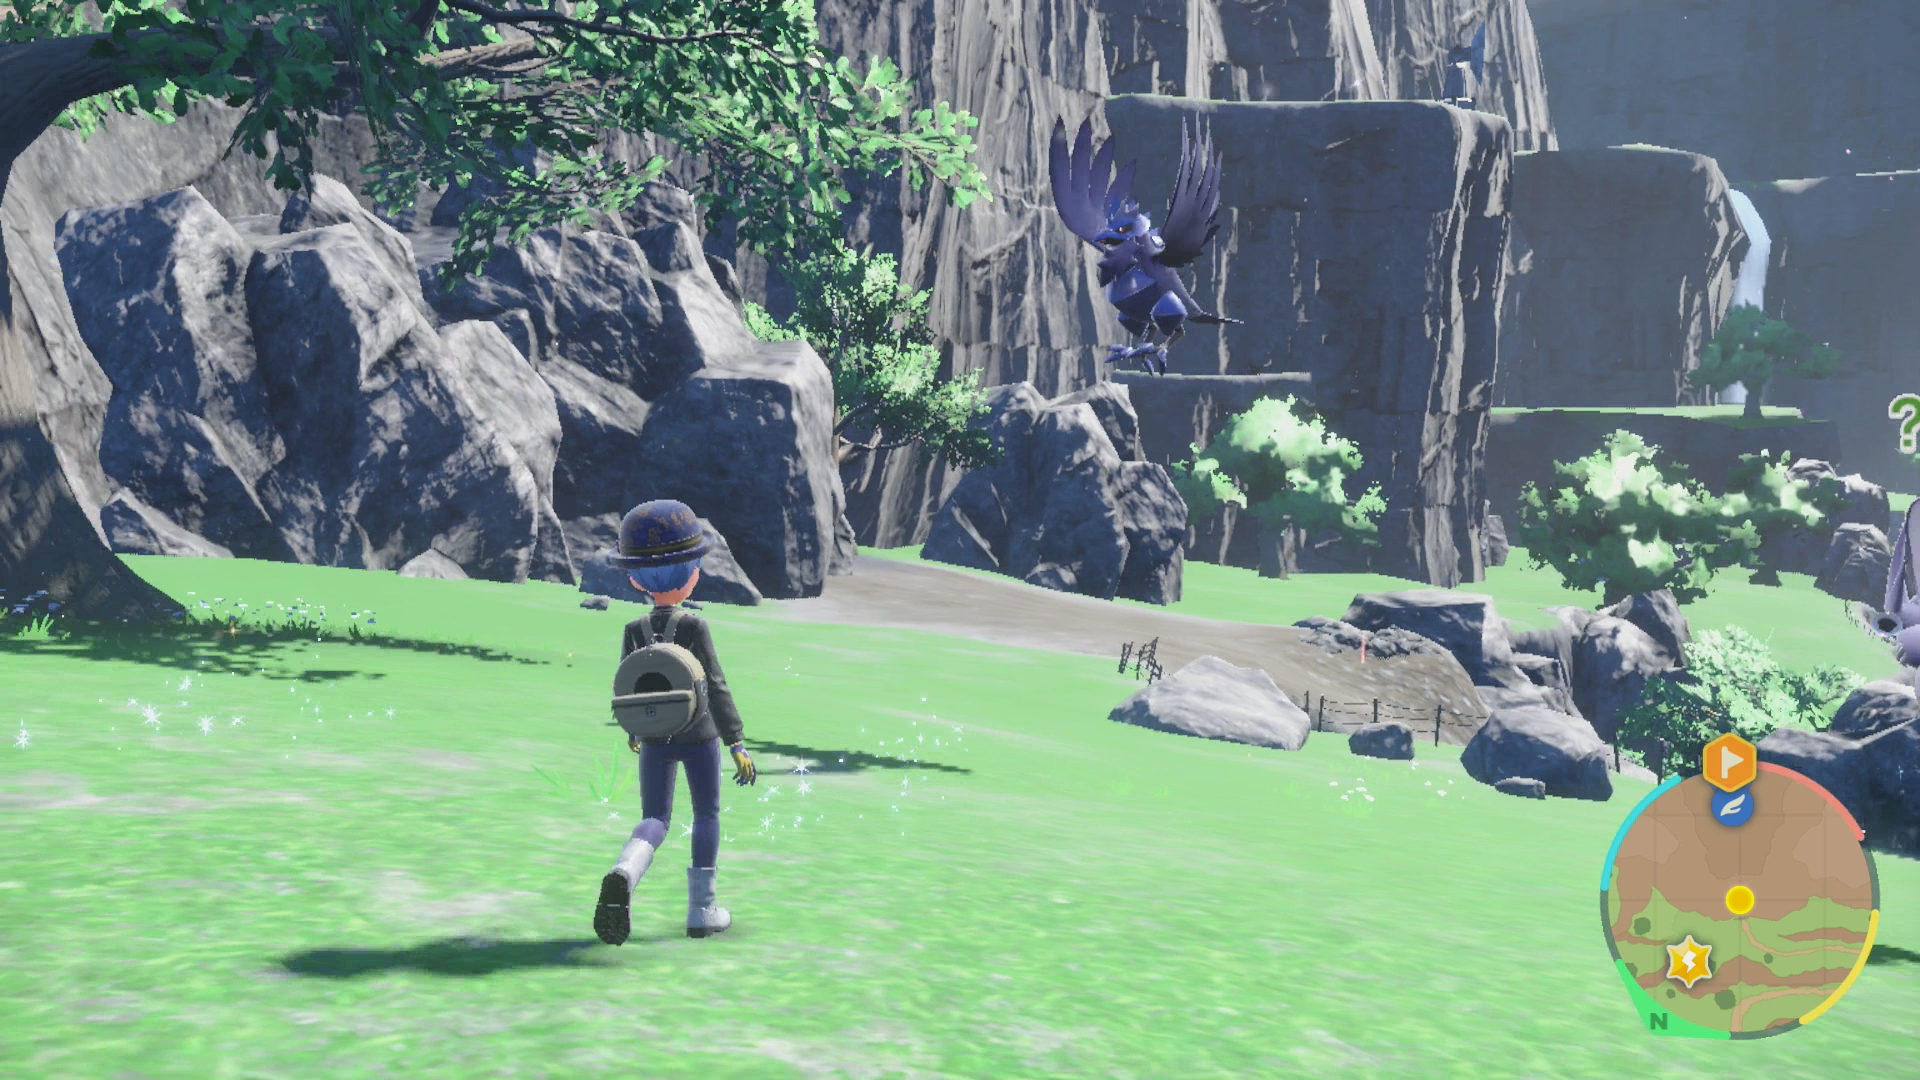
There are a lot of high-level wild Pokémon around, including a lot of ones you may not have seen too often—or even at all—in the wild outside of Area Zero.
From the start point…
- Take a left and then keep going forward until you find a small stream of water. This is shallow water and you can cross it, don’t worry.
- Across the river, take a slight right and then keep going forward until you reach the edge of the cliff (well, you can stop a bit before that, don’t worry!).
- Take a left from that edge and keep following the path until you reach that kind of rocky slope area in the distance.
- You might be able to slide down the rocky slope and you’ll arrive at Research Station #1.
- If that doesn’t work, you can just keep going forward, and then turn around 180 degrees at the bottom of the ramp (at this point you should see the Research Station and it should be easy to navigate to).
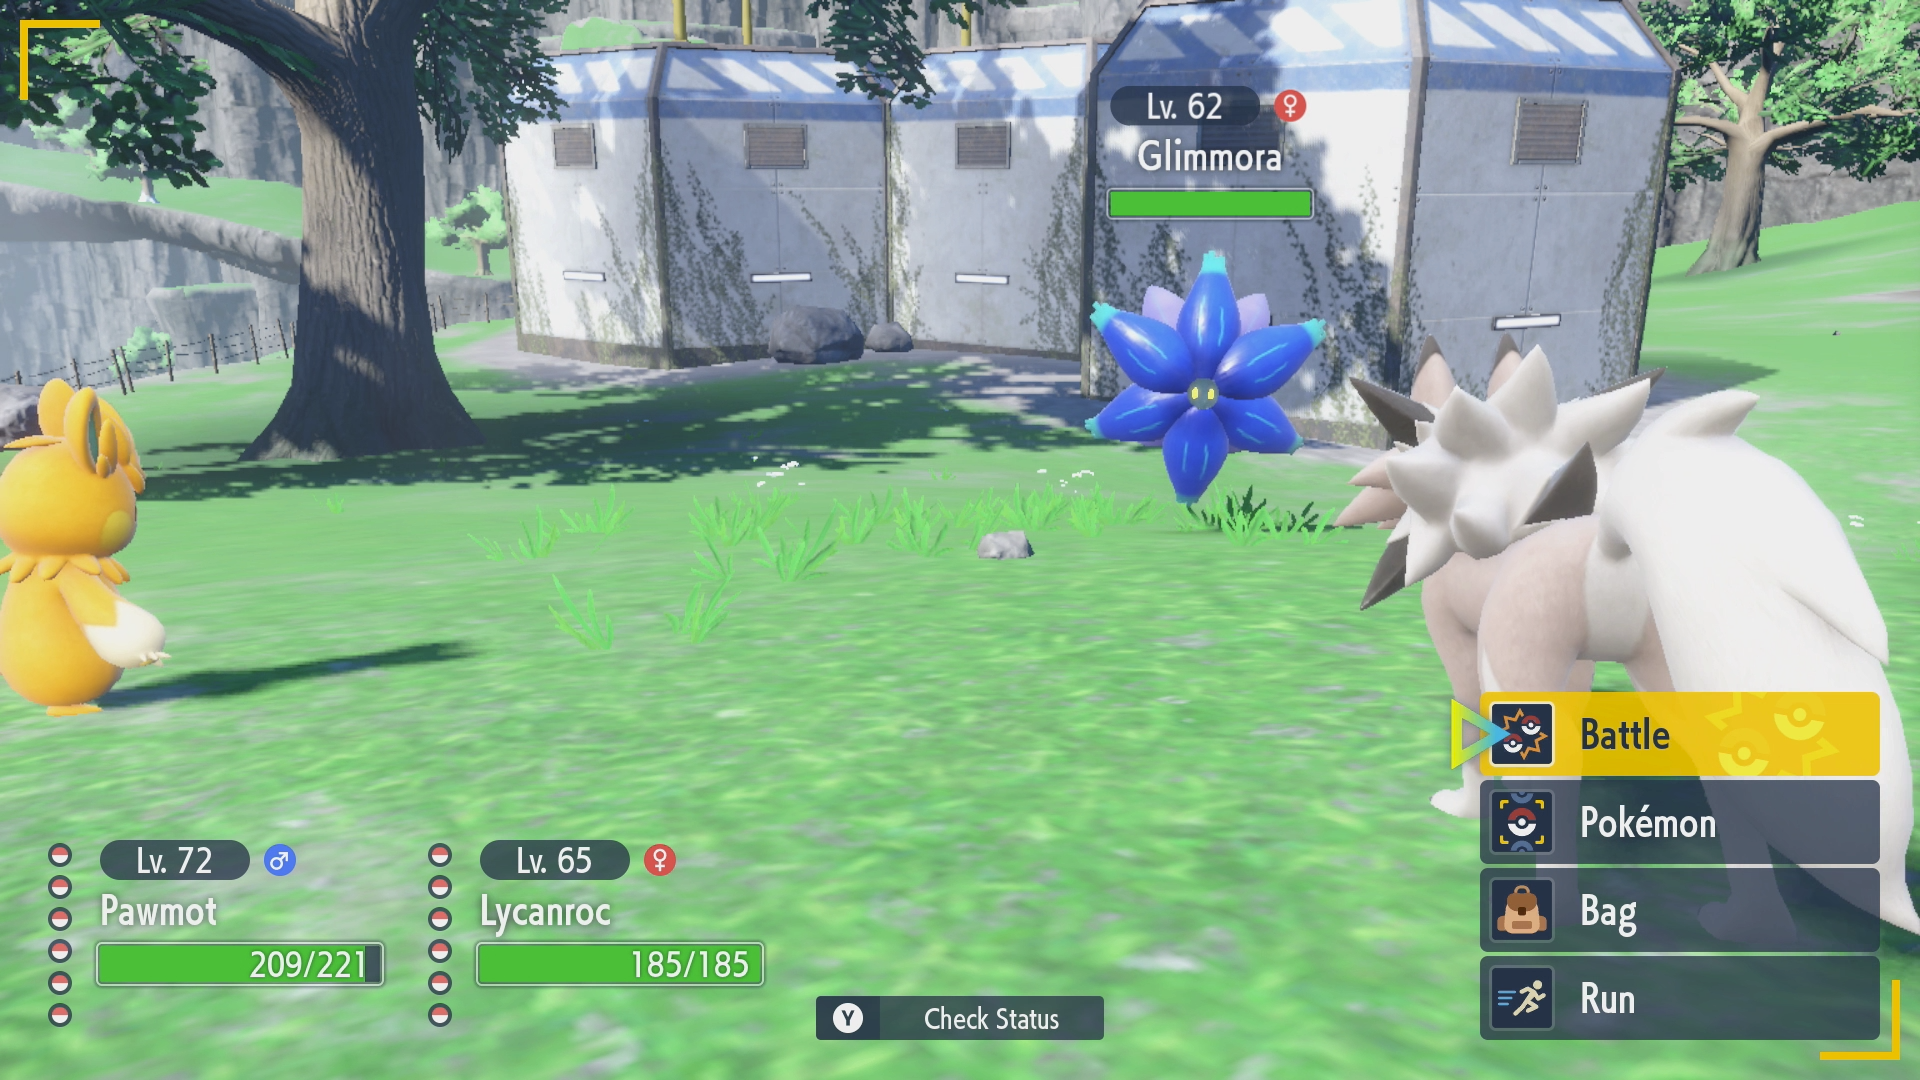
Before you can enter the Research Station, you’ll be attacked by a Glimmora Lv. 62. It shouldn’t be too tough, especially because you’ll be joined by Nemona for the battle, who leads with her Lycanroc Lv. 65 and uses her full team, making it a 12-vs-1 fight. Keep in mind that you will not be able to catch this Glimmora.
After taking down the Glimmora, head inside of the Research Station and you’ll receive more backstory about Area Zero from Professor Sada (Scarlet) or Turo (Violet). Go ahead and press A on the panel in front of you to disable one of the locks to the Zero Lab.
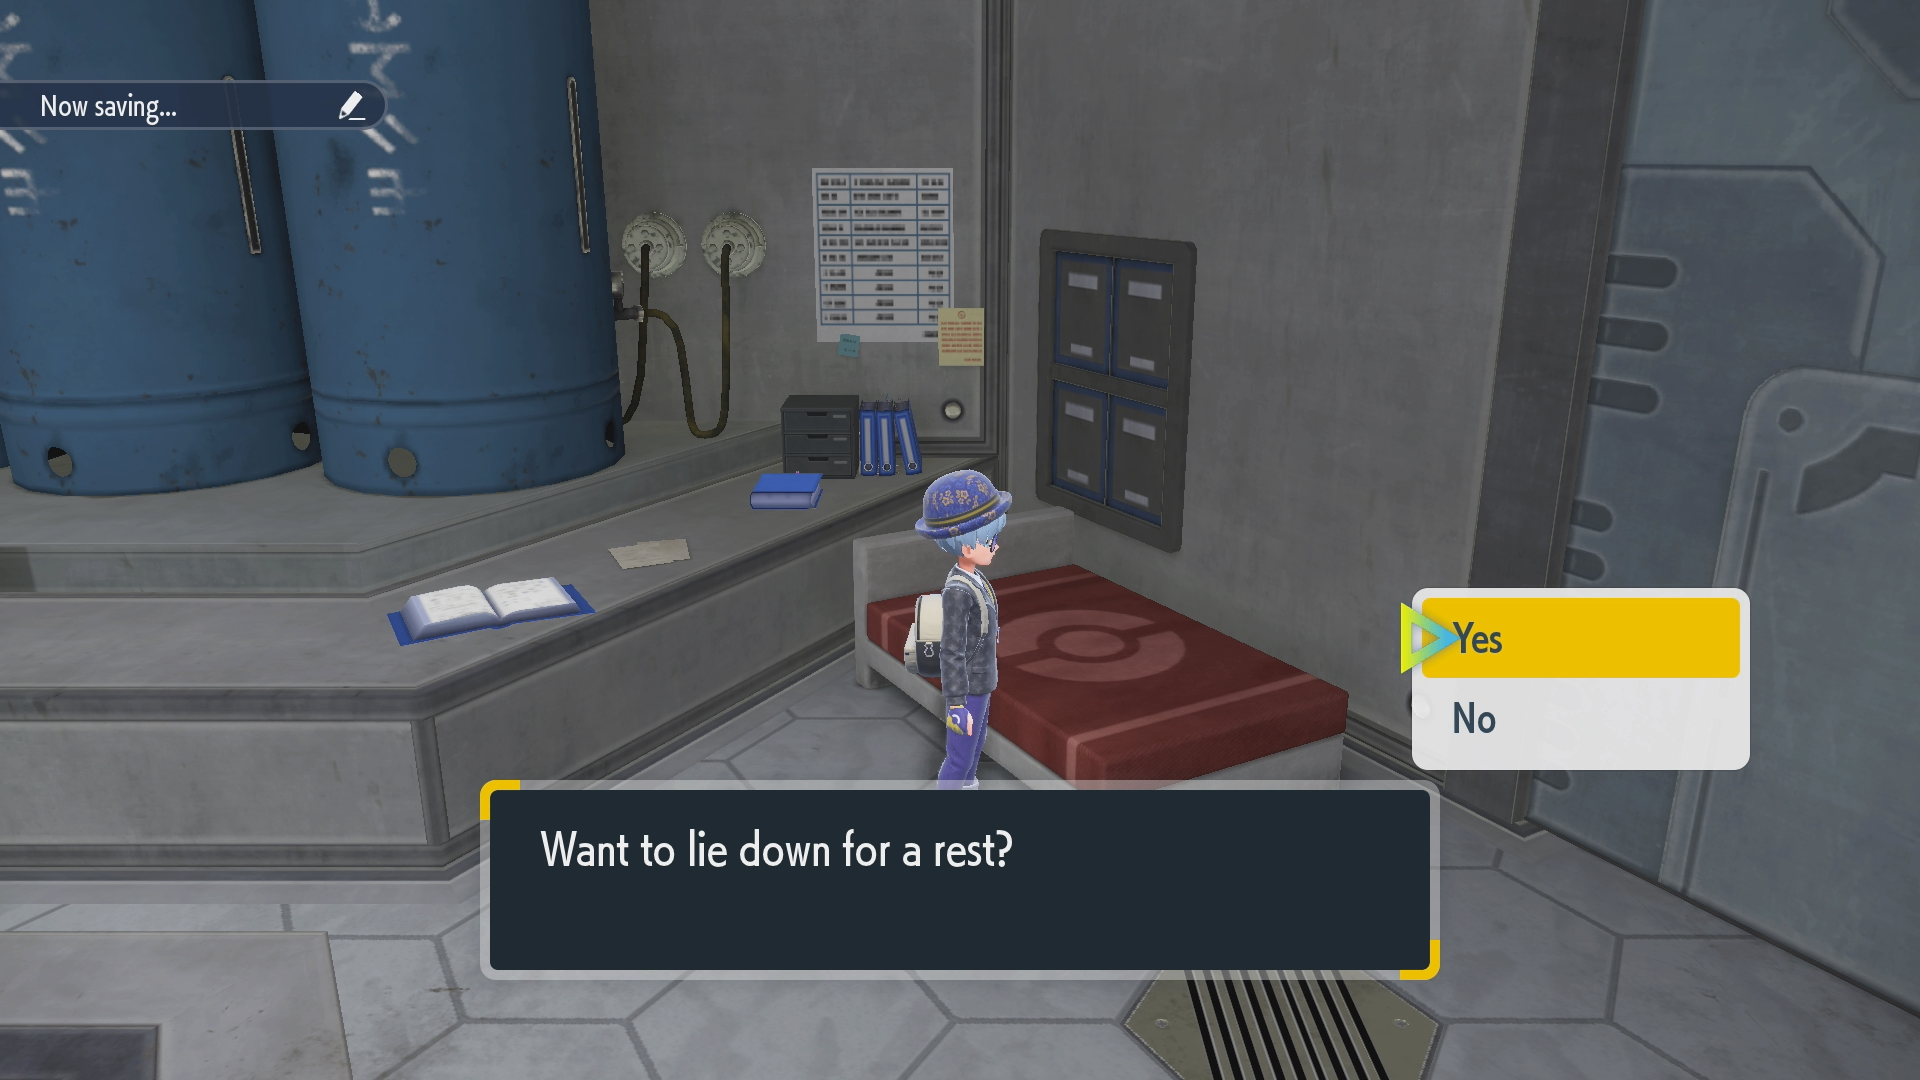
At this point, you can also rest up by using the bed, or you can teleport to the Zero Gate (or any other Research Stations you’ve visited) by using the teleporter in the bottom-right.
Getting to Research Station #2
Your next stop is Research Station #2, and it will take you further down into the Great Crater of Paldea. It’s easy to get lost, so try your best to stick to the path.
From the front door of Research Station #1 (looking away from it, as if you just left the building)…
- Continue forward, turning slightly left as you get closer to a large slab of rock. Continue forward to pass that slab.
- You’ll find a fork in the road, with the path to the left leading to a rocky area and the path to the right leading to an area with a rocky ceiling. Take the right path and go into the open-air “cave.”
- Keep following the path in the “cave” and head between the pillars, approaching the far wall. It will be narrow for a bit while going through it, but that’s fine.
- There will be a slope to the slight left that’s going down. Take that down all the way.
- Optionally, there’s an actual cave entrance to the right while climbing down that slope. It leads to TM149 Earthquake, which is very worthwhile to pick up!
- Keep heading down the slope until you see a big tree, and then take a left.
- Continue going forward until you reach the rocky area with a steep slope to your left. You’ll find the Research Station to your right, against the cliffs.
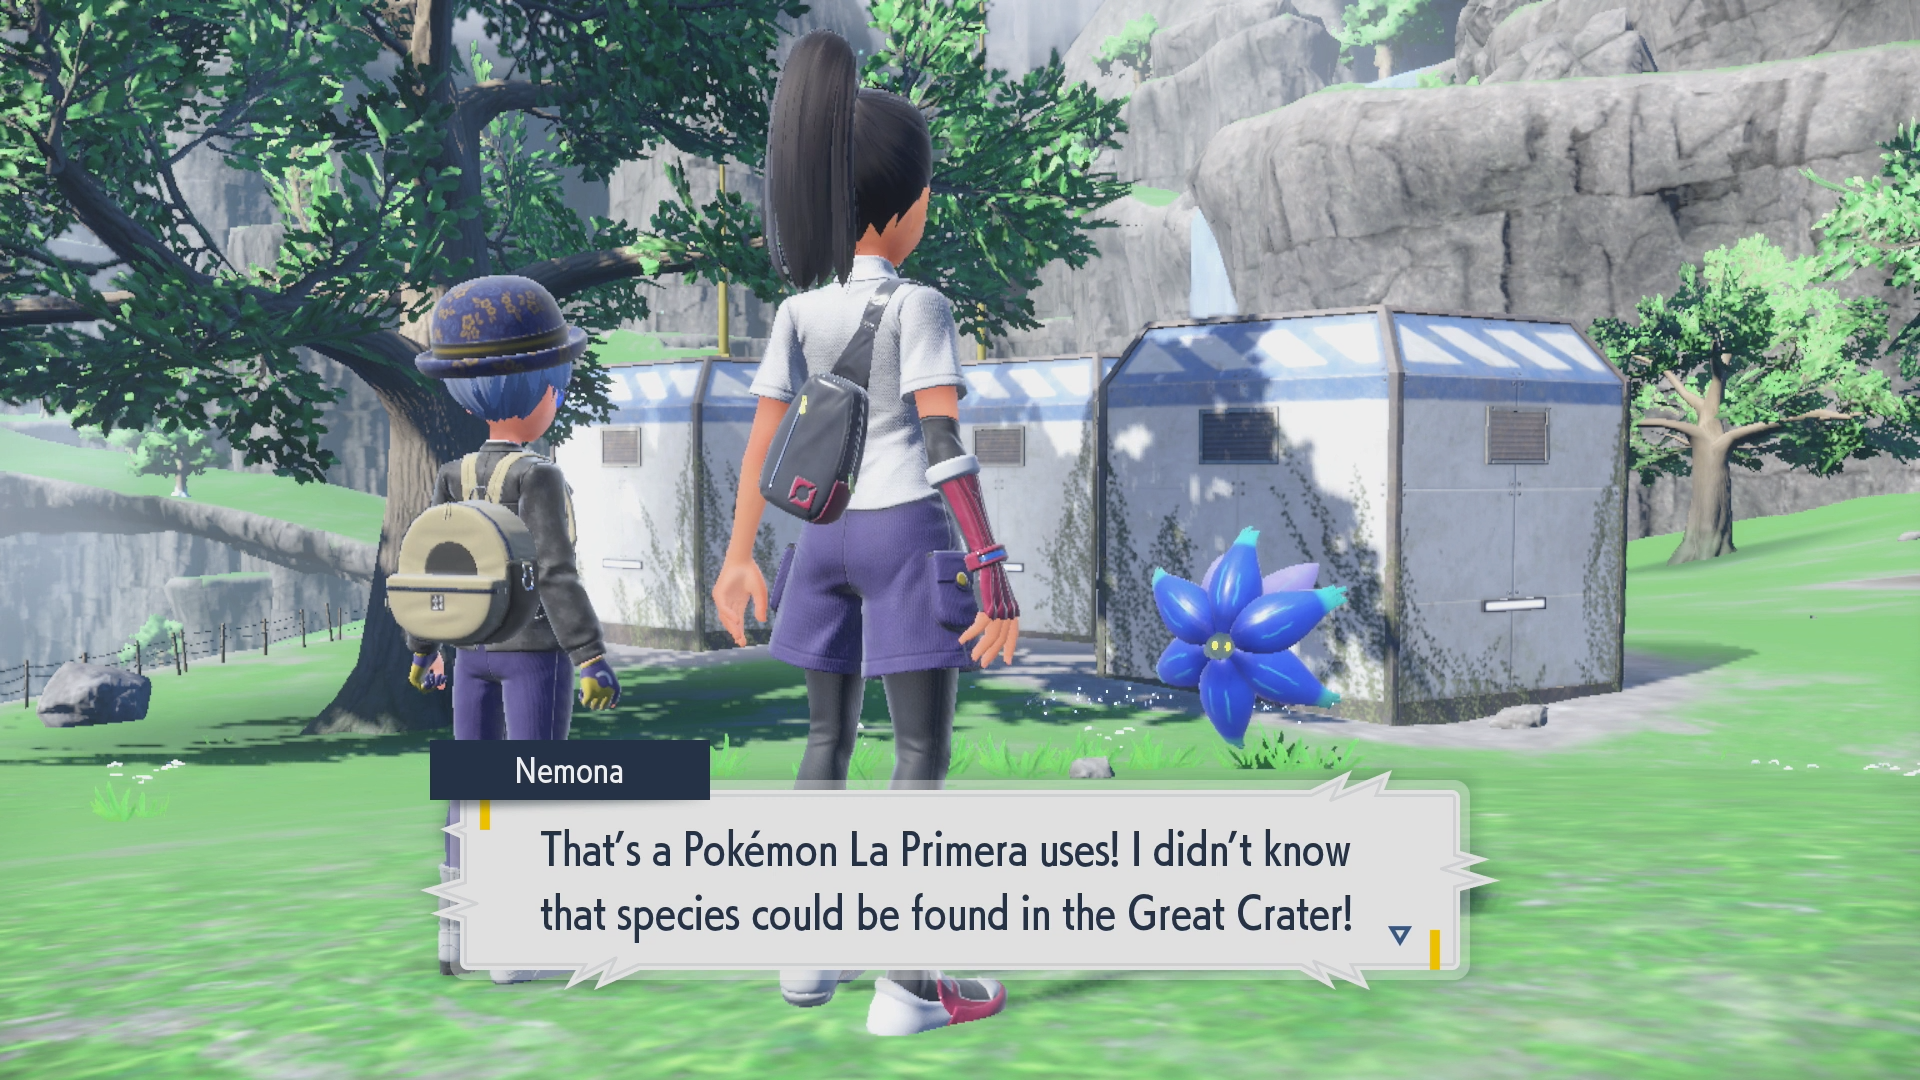
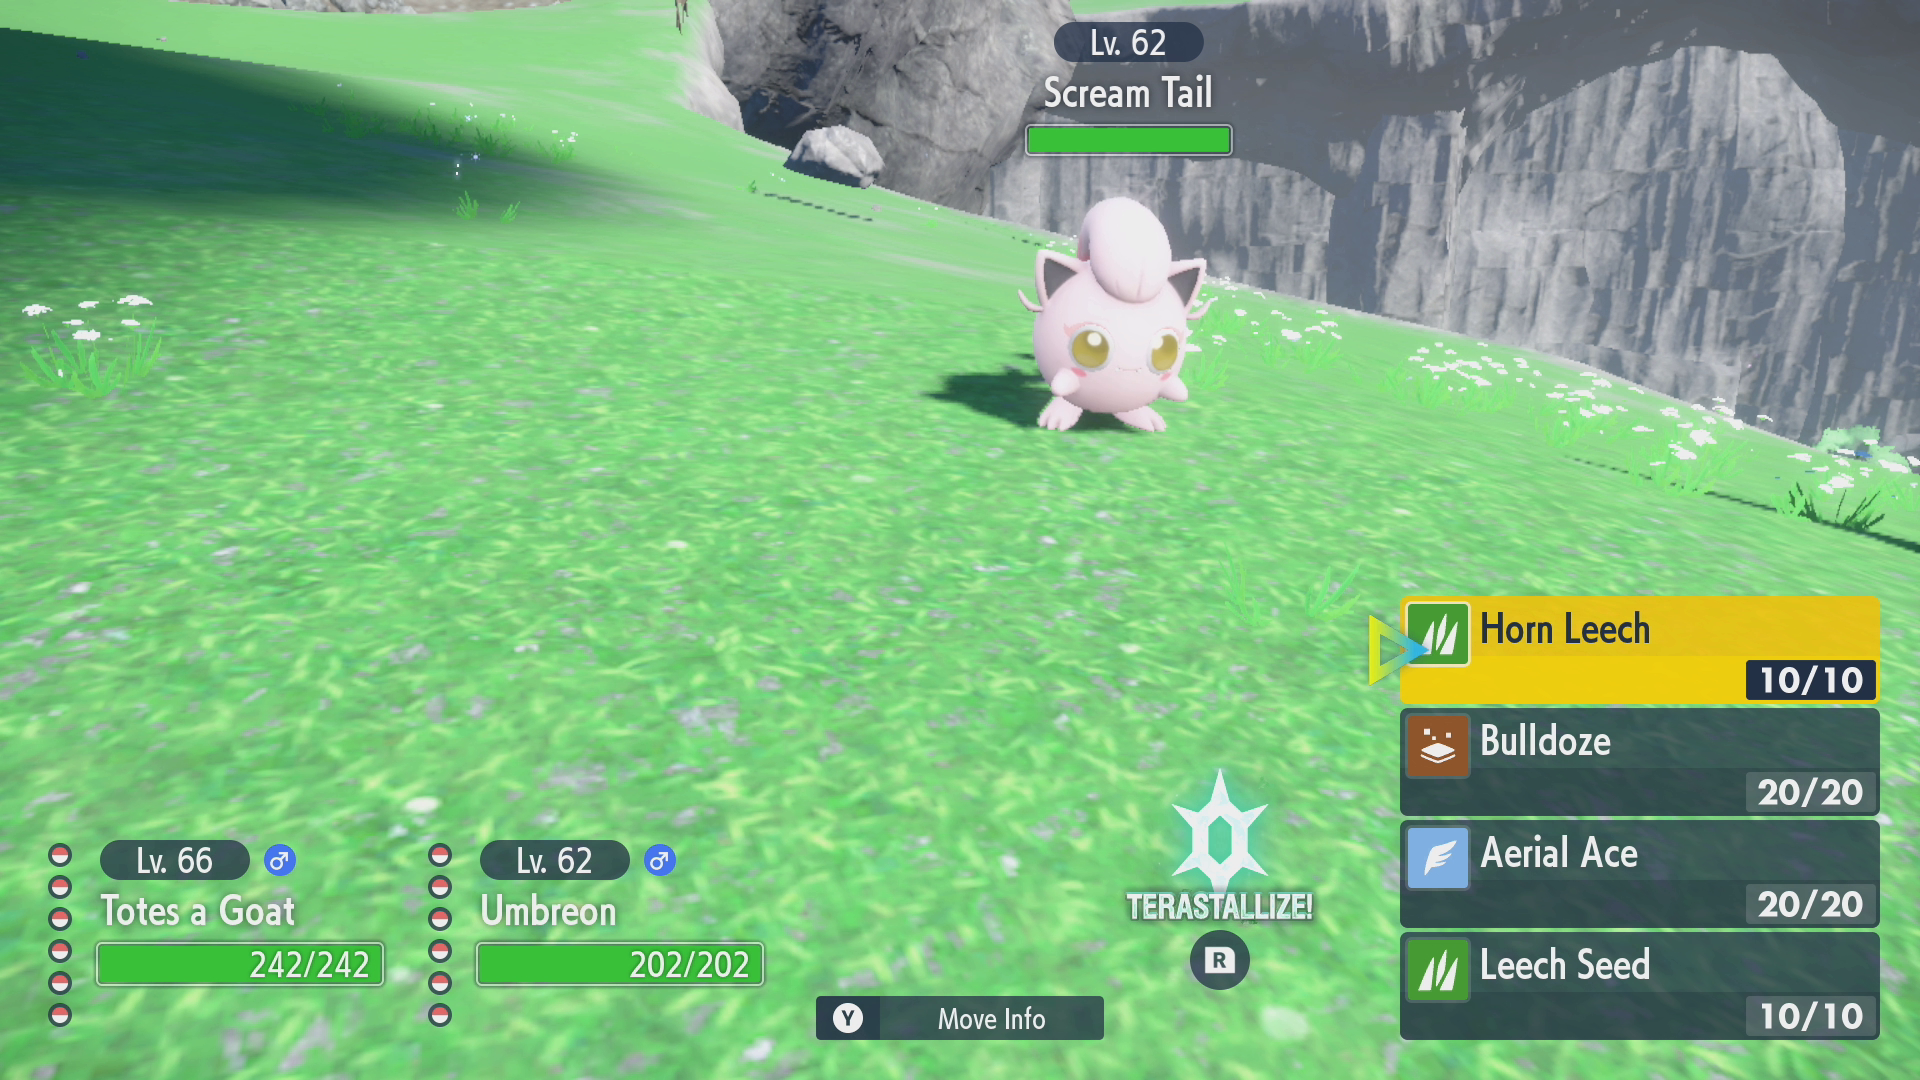
As you approach Research Station #2, a strange, somewhat-familiar Pokémon will appear. The Pokémon you see depends on which version you’re playing; in Scarlet, you’ll see something resembling a Jigglypuff, while in Violet, you’ll see something that resembles a Delibird.

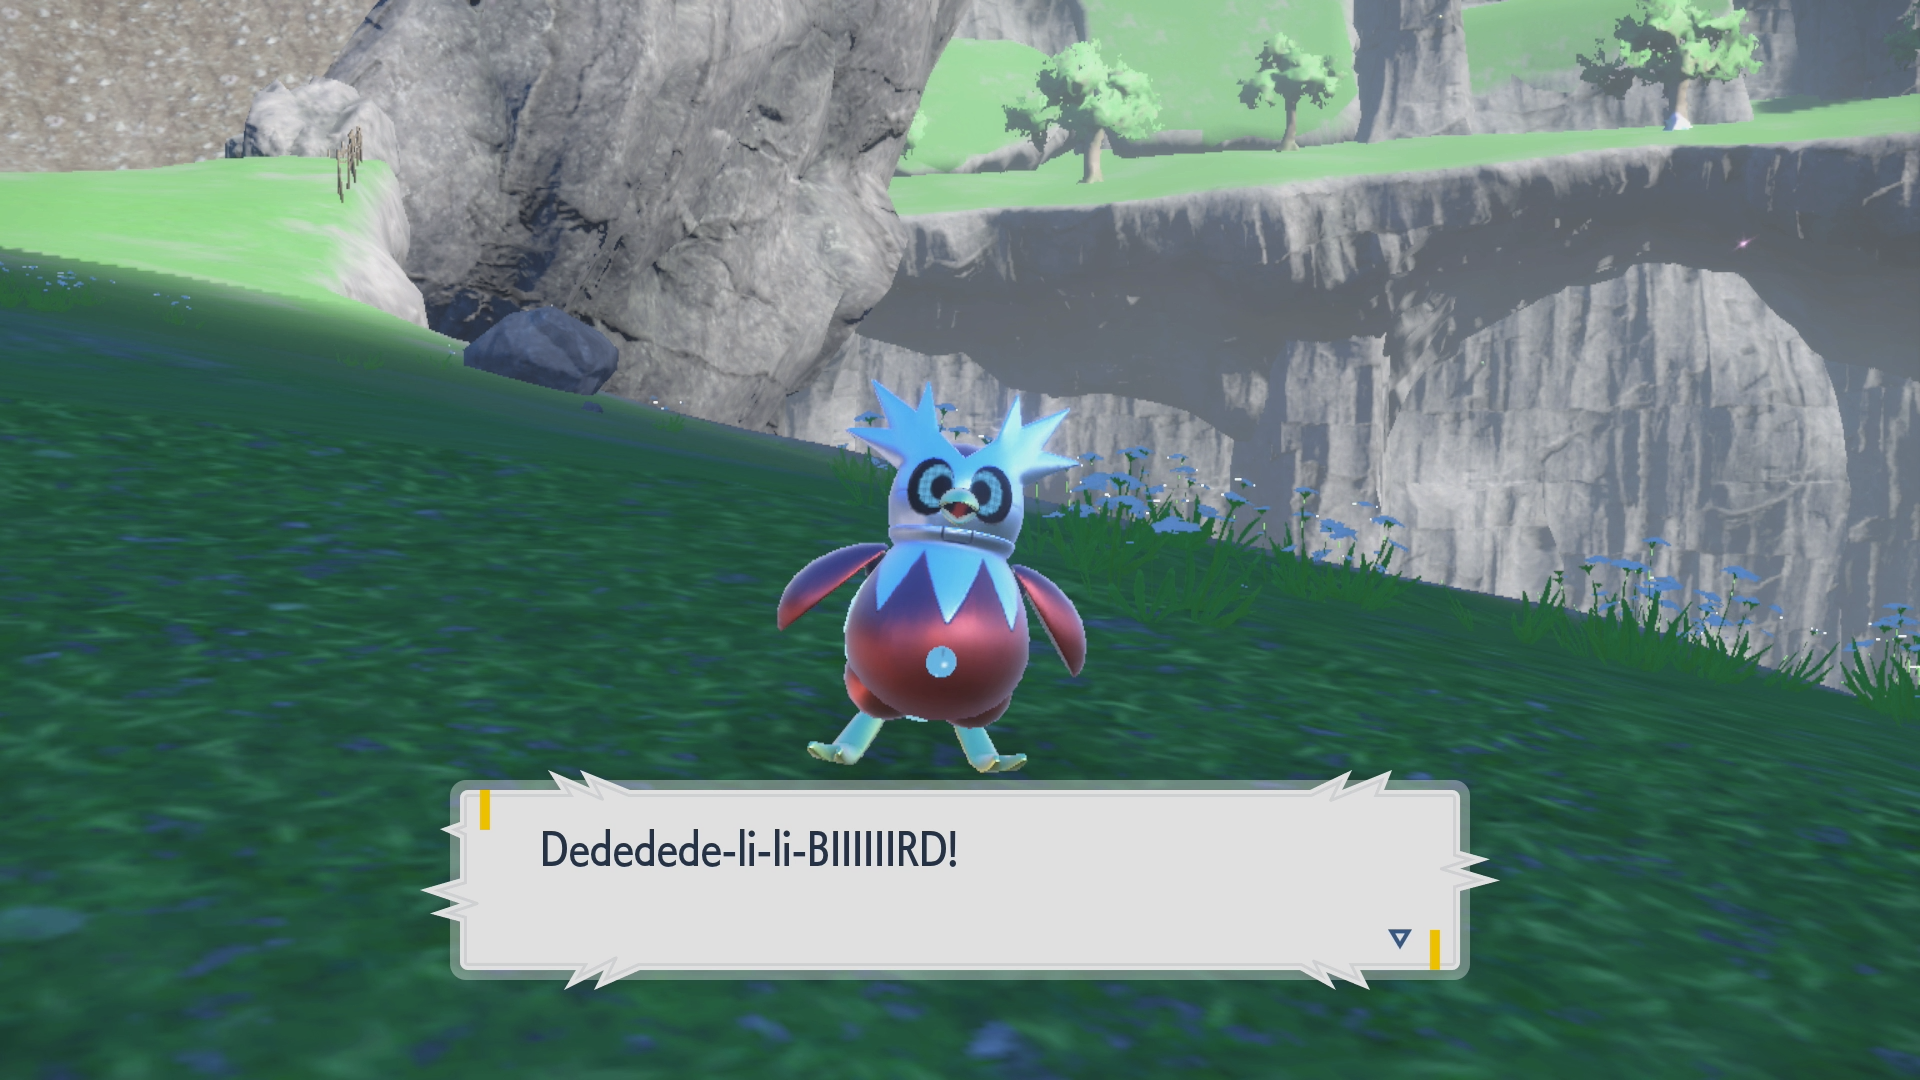
You’ll team up with Penny to fight this Pokémon. In Scarlet, you fight against a Pokémon called Scream Tail; in Violet, you fight against a Pokémon called Iron Bundle instead. Chances are you won’t know what type it is, at least if you weren’t looking it up ahead of time, so I’ll leave that as a surprise for you to figure out. Keep in mind that you won’t be able to catch this one in particular, but any others you find in Area Zero can be caught. Just focus on taking this one down.
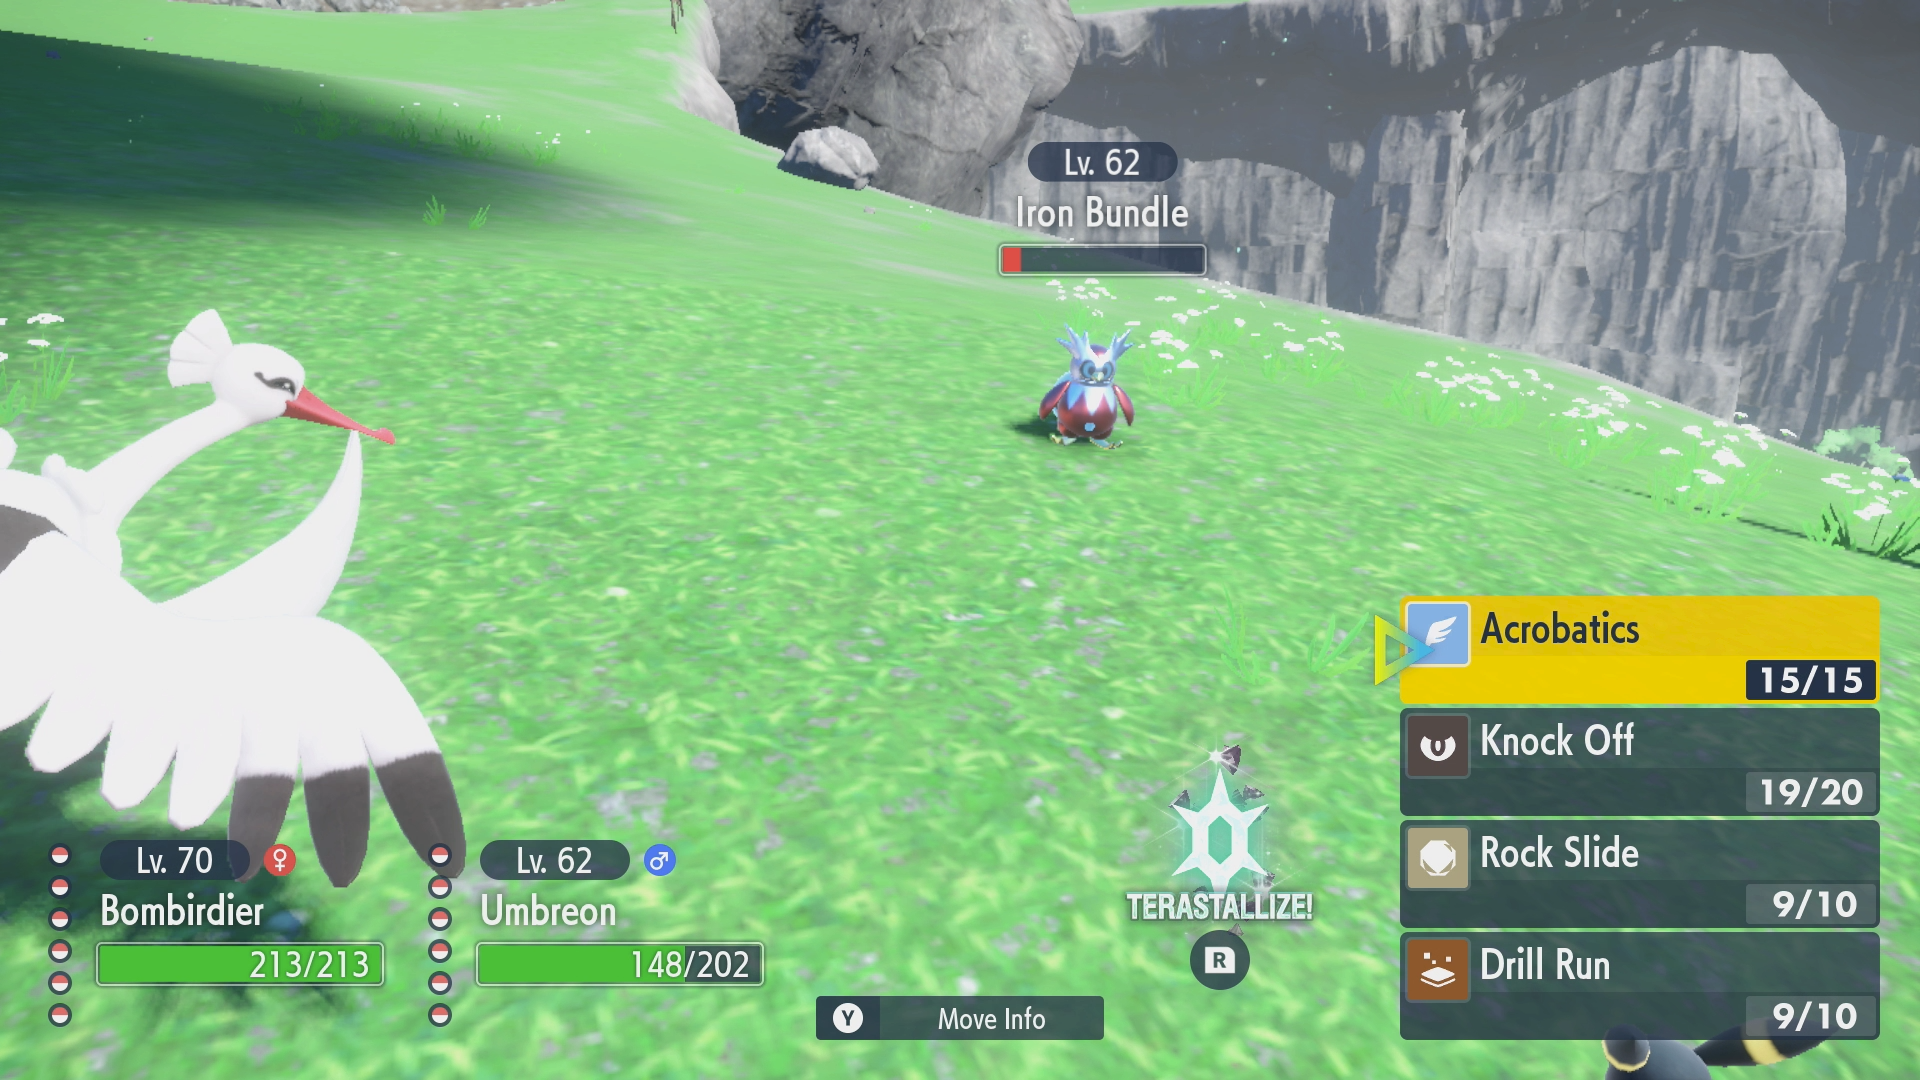
After taking it down, you’ll be able to enter Research Station #2. As with the last station, you’ll get some more dialogue and storyline, and will need to interact with the PC to deactivate the second lock. You can also rest up by using the bed, which might be worthwhile since you’ve probably been fighting and/or catching various Pokémon getting to this point.
Getting to Research Station #3
The third Research Station is the last one that’s on the “surface” layer of Area Zero. Thankfully, getting to it is fairly easy, as long as you follow the directions, but it’s important to remember that the bottom layer of the surface is like a big donut! Yes, a big donut—there’s essentially a ring of flat land all around the center hole area, so if you take a wrong turn (or just feel like exploring), you could end up on the other side of the ring and have quite a trek to travel back.
Here are the directions on how to get to Research Station #3, assuming you’re leaving from the door of Research Station #2:
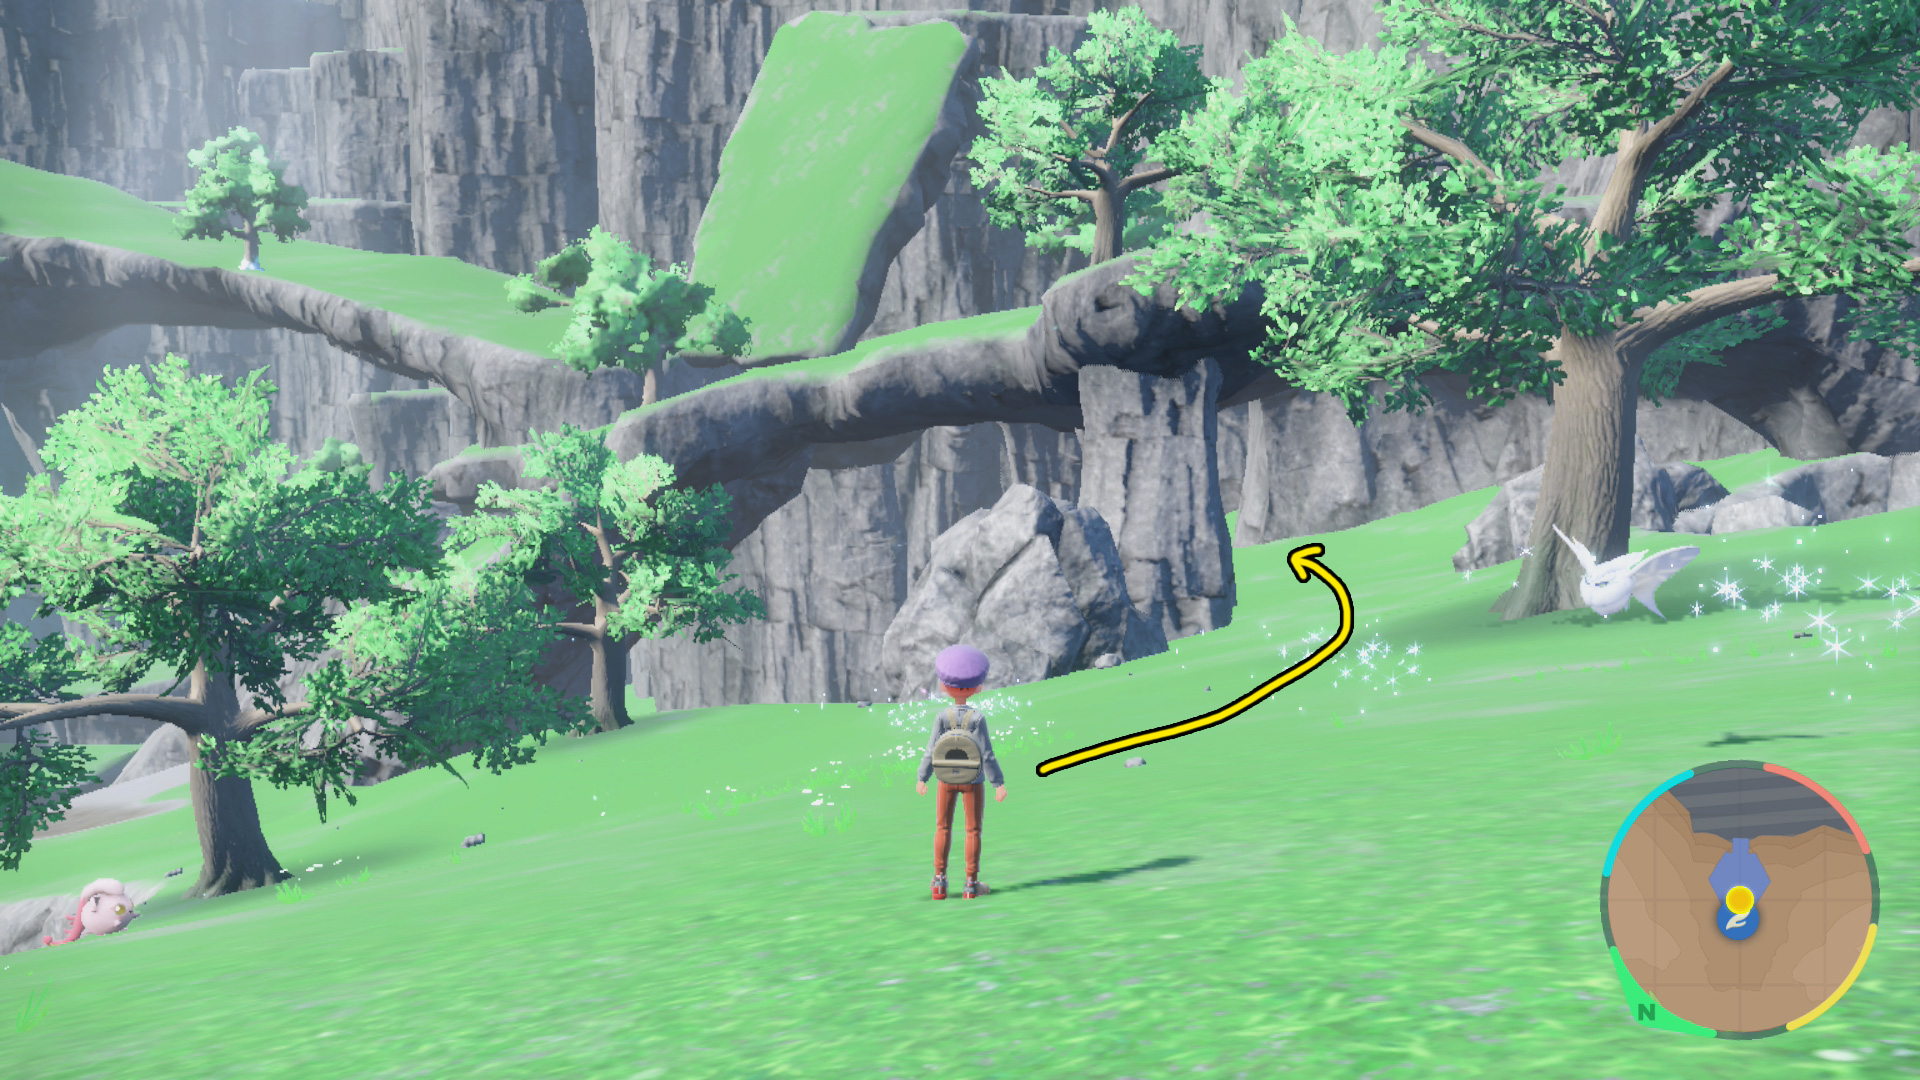
- Turn right and climb down the nearby slope by a waterfall. Continue down that path until you reach the river where the waterfall is pouring into.
- Cross the river and continue going straight forward, heading towards a single large tree in the distance.
- The entrance to the Secret Cave is right by this big tree, hidden behind some nearby boulders! It’s not really necessary to check it out just yet, but remember this place for later. (It is also described below.)
- You should see Research Station #3 off in the distance from here, once again, pretty much completely straight forward. Easy, right?
As you approach the entrance to Research Station #3, you’ll once again be attacked by another mysterious, strange Pokémon, although this is one you’ve seen before: Great Tusk if you’re playing Scarlet or Iron Treads if you’re playing Violet. This time around, though, it’s not a Titan Pokémon and is a more normal size.
You’ll have to battle it with Arven, just like you did with the original Titan, although this time Arven has his full team to help out on the off-chance he can’t take it down with his lead Pokémon, Mabosstiff, which graciously uses its Intimidate Ability to weaken the Pokémon’s Attack. As with the other encounters, you won’t be able to catch this one, so just focus on defeating it.
Inside of the Research Station, you’ll receive a bit more backstory from the Professor, including hearing that the strange Pokémon in the area are actually ancient Pokémon (in Scarlet) or future Pokémon (in Violet). These are both referred to as Paradox Pokémon from their Pokédex category; they resemble existing Pokémon, but are all very strong and have different types, moves, and more. If you caught the “Former Titan” Great Tusk or Iron Treads earlier on, you might have noticed that odd detail.
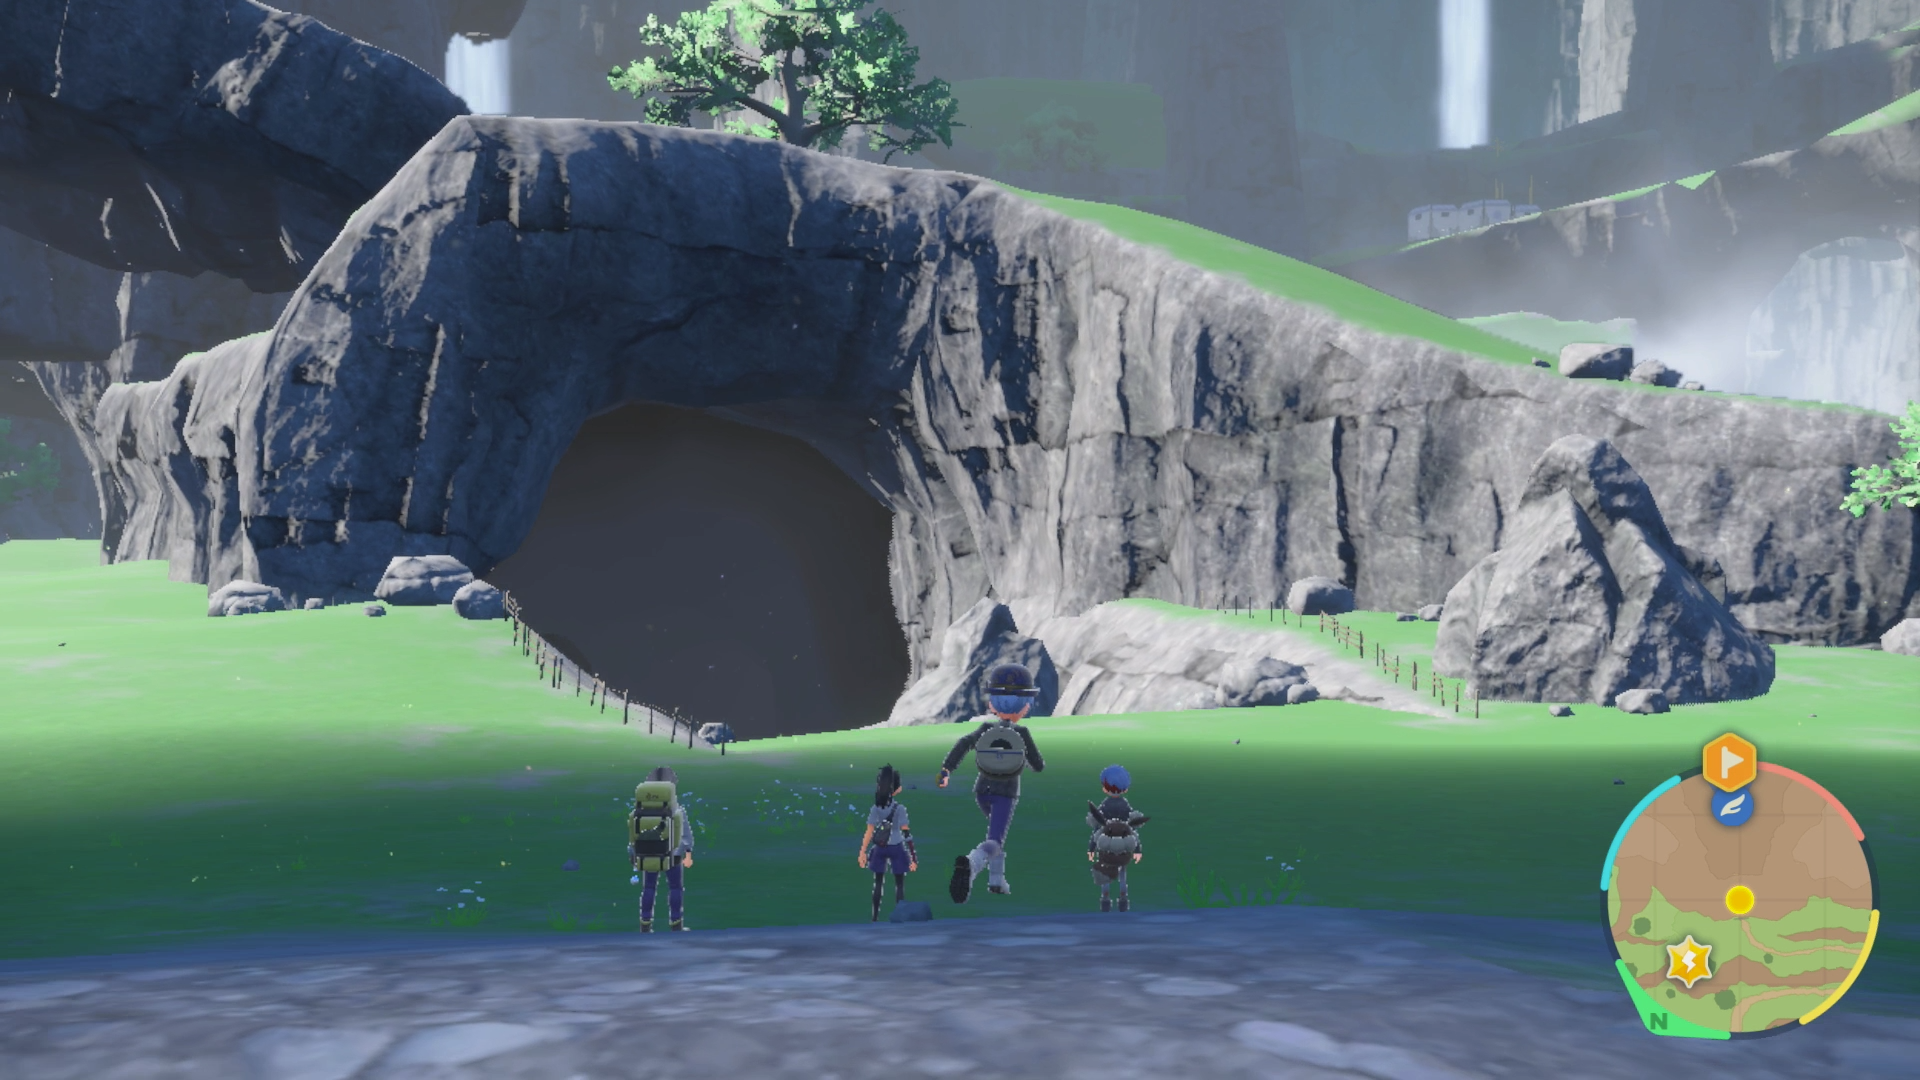
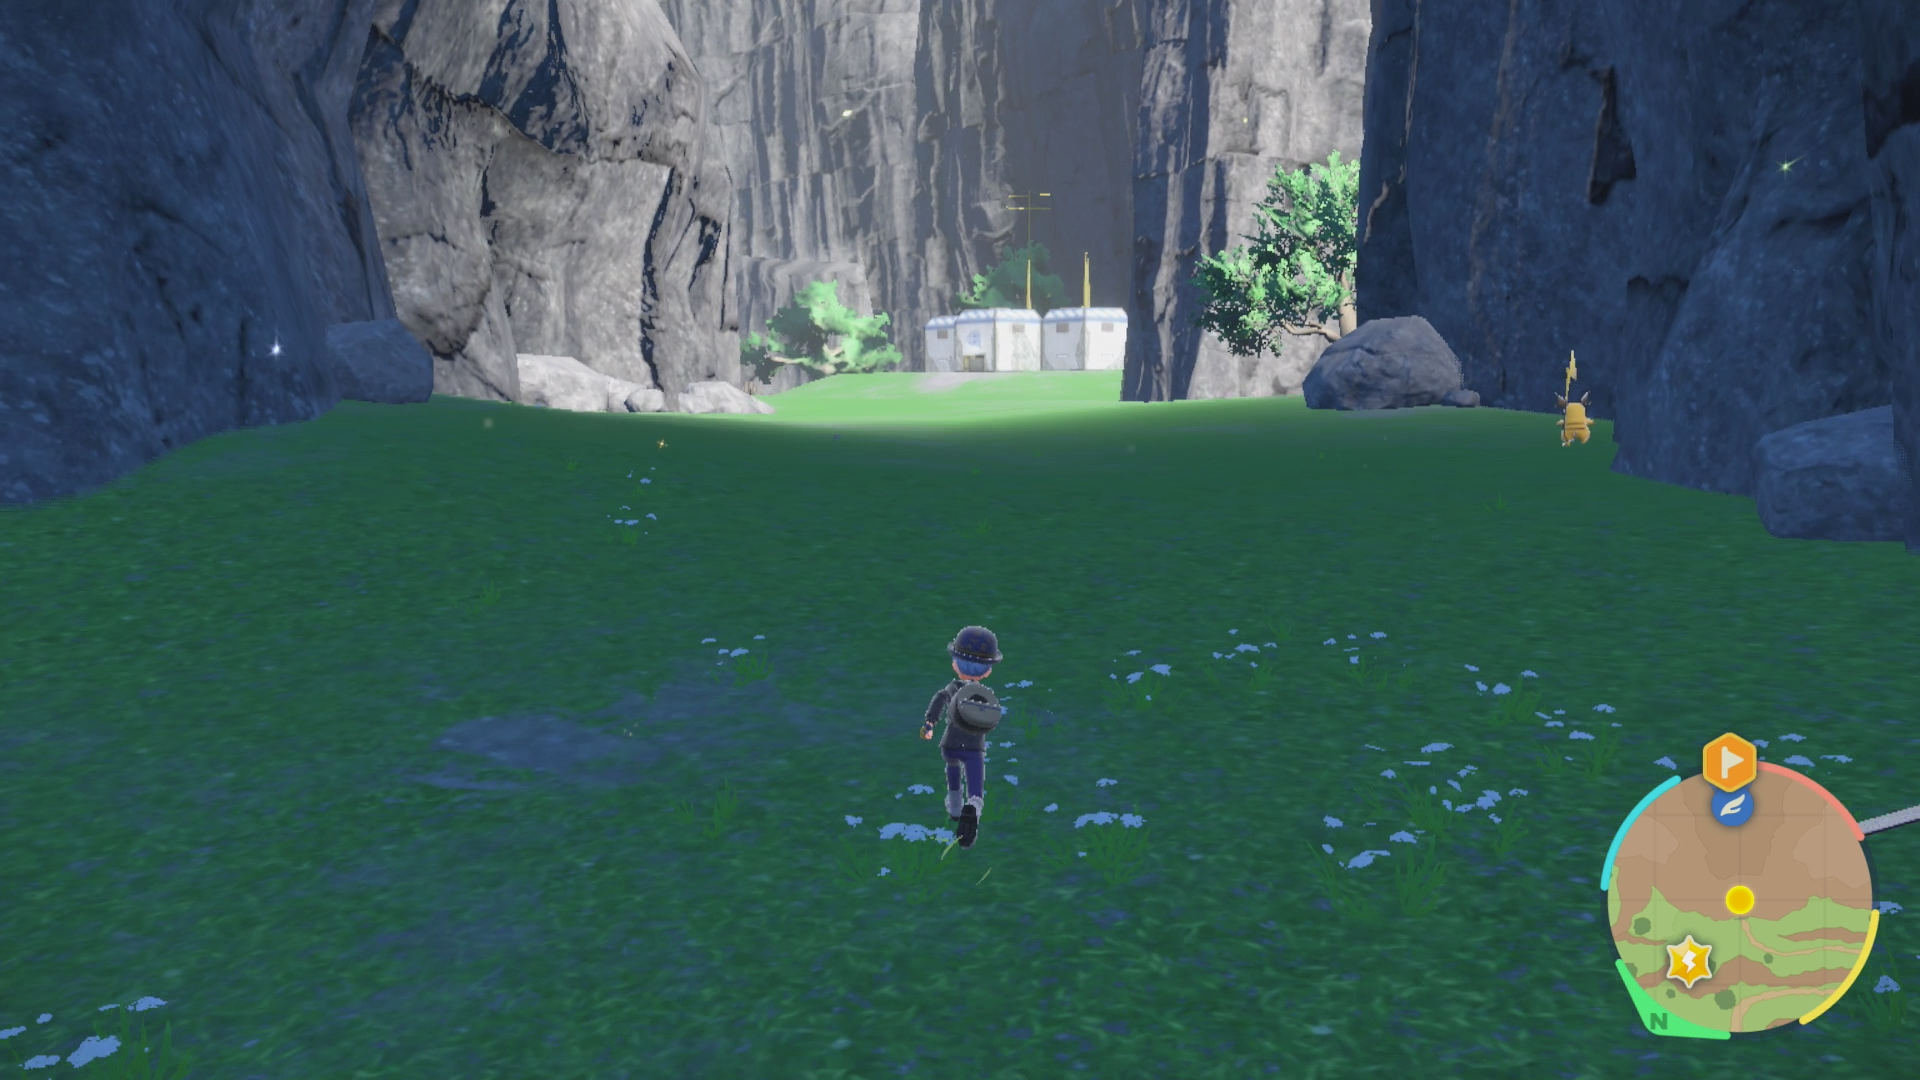
Three Research Stations down, one more to go, and that one can be found deeper in Area Zero, in the Cavern area. You can enter the Cavern by leaving Research Station #3 and then walking immediately forward, into that large, gaping cave entrance, which will lead you into the Cavern.
The Secret Cave (Optional)
While you’re at Research Station #3, you might want to familiarize yourself with the location of “the Secret Cave,” as it’s oftentimes called. If you followed the directions in this guide, you might have checked it out already, but whether you did back then or if you skipped it, it’s a good idea to learn how to get there from Research Station #3, because that’s the most convenient way to quickly get to the Secret Cave.
Starting from Research Station #3, head left and walk towards the big tree you see off in the distance. It’s a bit of a trip, so it’s best to do this after finishing The Way Home, but then keep going until you find some rocks to the left.
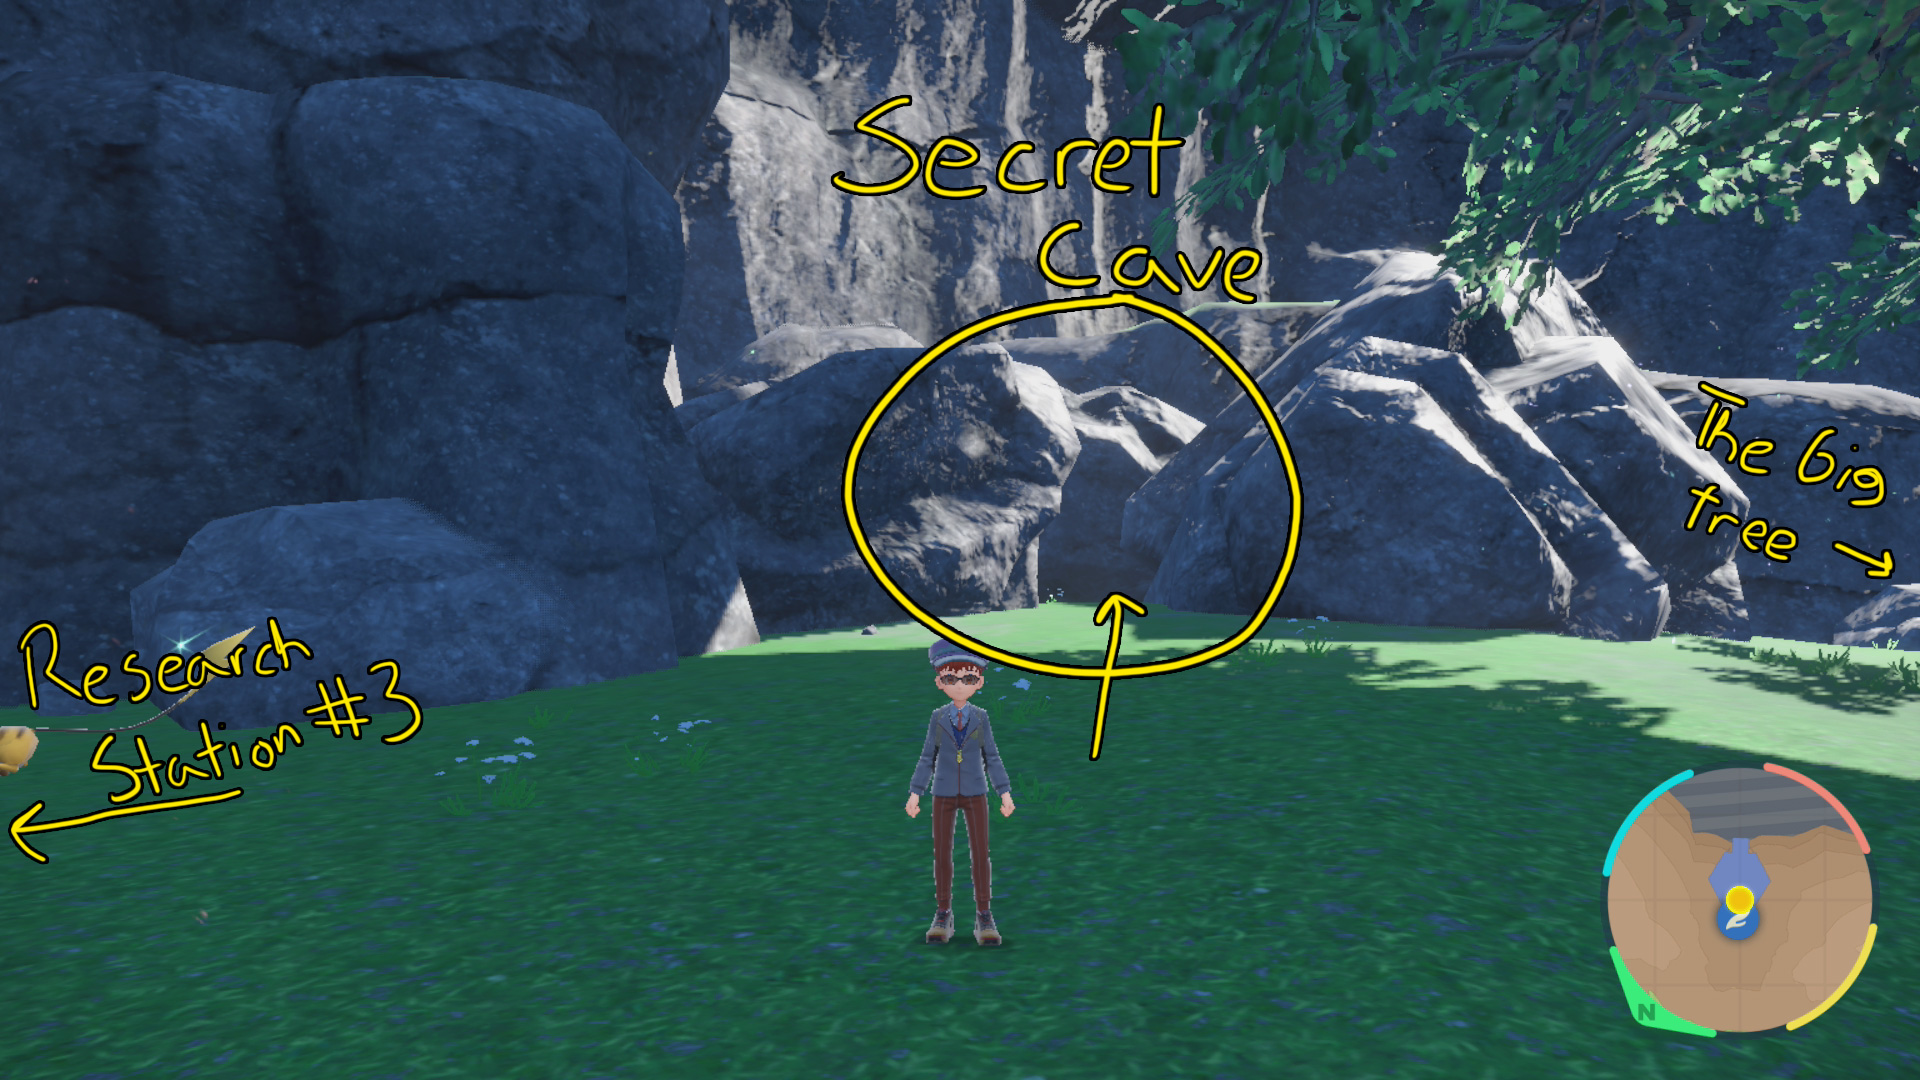
You can actually walk between those large boulders and that will lead you to a hidden cave entrance. This is the so-called Secret Cave, and you can read more about it on the following page (which will also explain how to get there again, so feel free to skip that part):