The first three of the Research Stations you need to visit are on the above-ground surface portion of the mysterious Area Zero. The final Research Station you need to visit can be found in the depths of Area Zero, inside of an area informally referred to as the cavern portion.
You can enter the cavern by entering a gigantic opening directly in front of Research Station #3. It’s pretty hard to miss if you’ve been to Research Station #3!
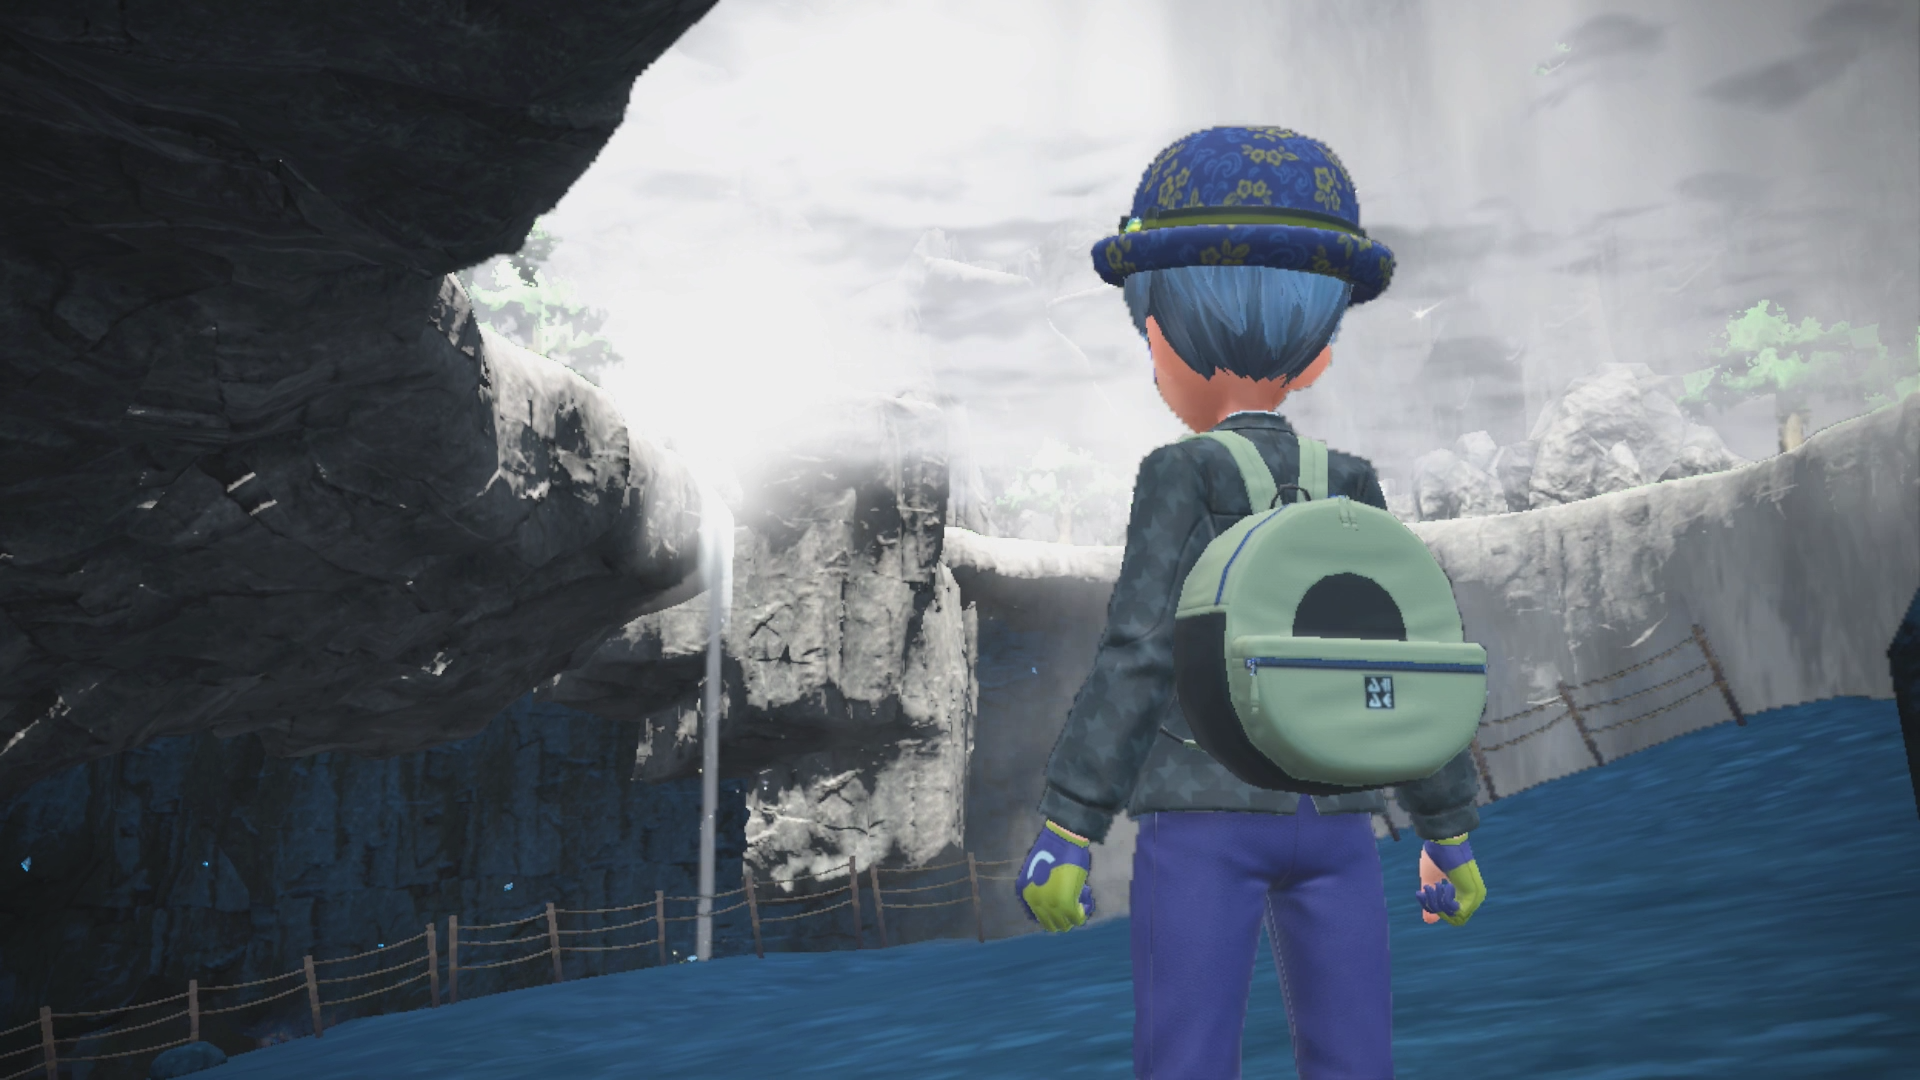
Whenever you’re ready, head inside of the large cavern.
Getting to Research Station #4
From the entrance, continue heading forward and then take a right when you’re able. You’ll arrive in a more opened-up area, where a cutscene will trigger and showcase more of the deeper portion of Area Zero. It goes pretty far down, and you’ll need to get to the bottom somehow!

Take a left and then continue down the path, stepping to the side of the large rock in your way (either left or right is fine).
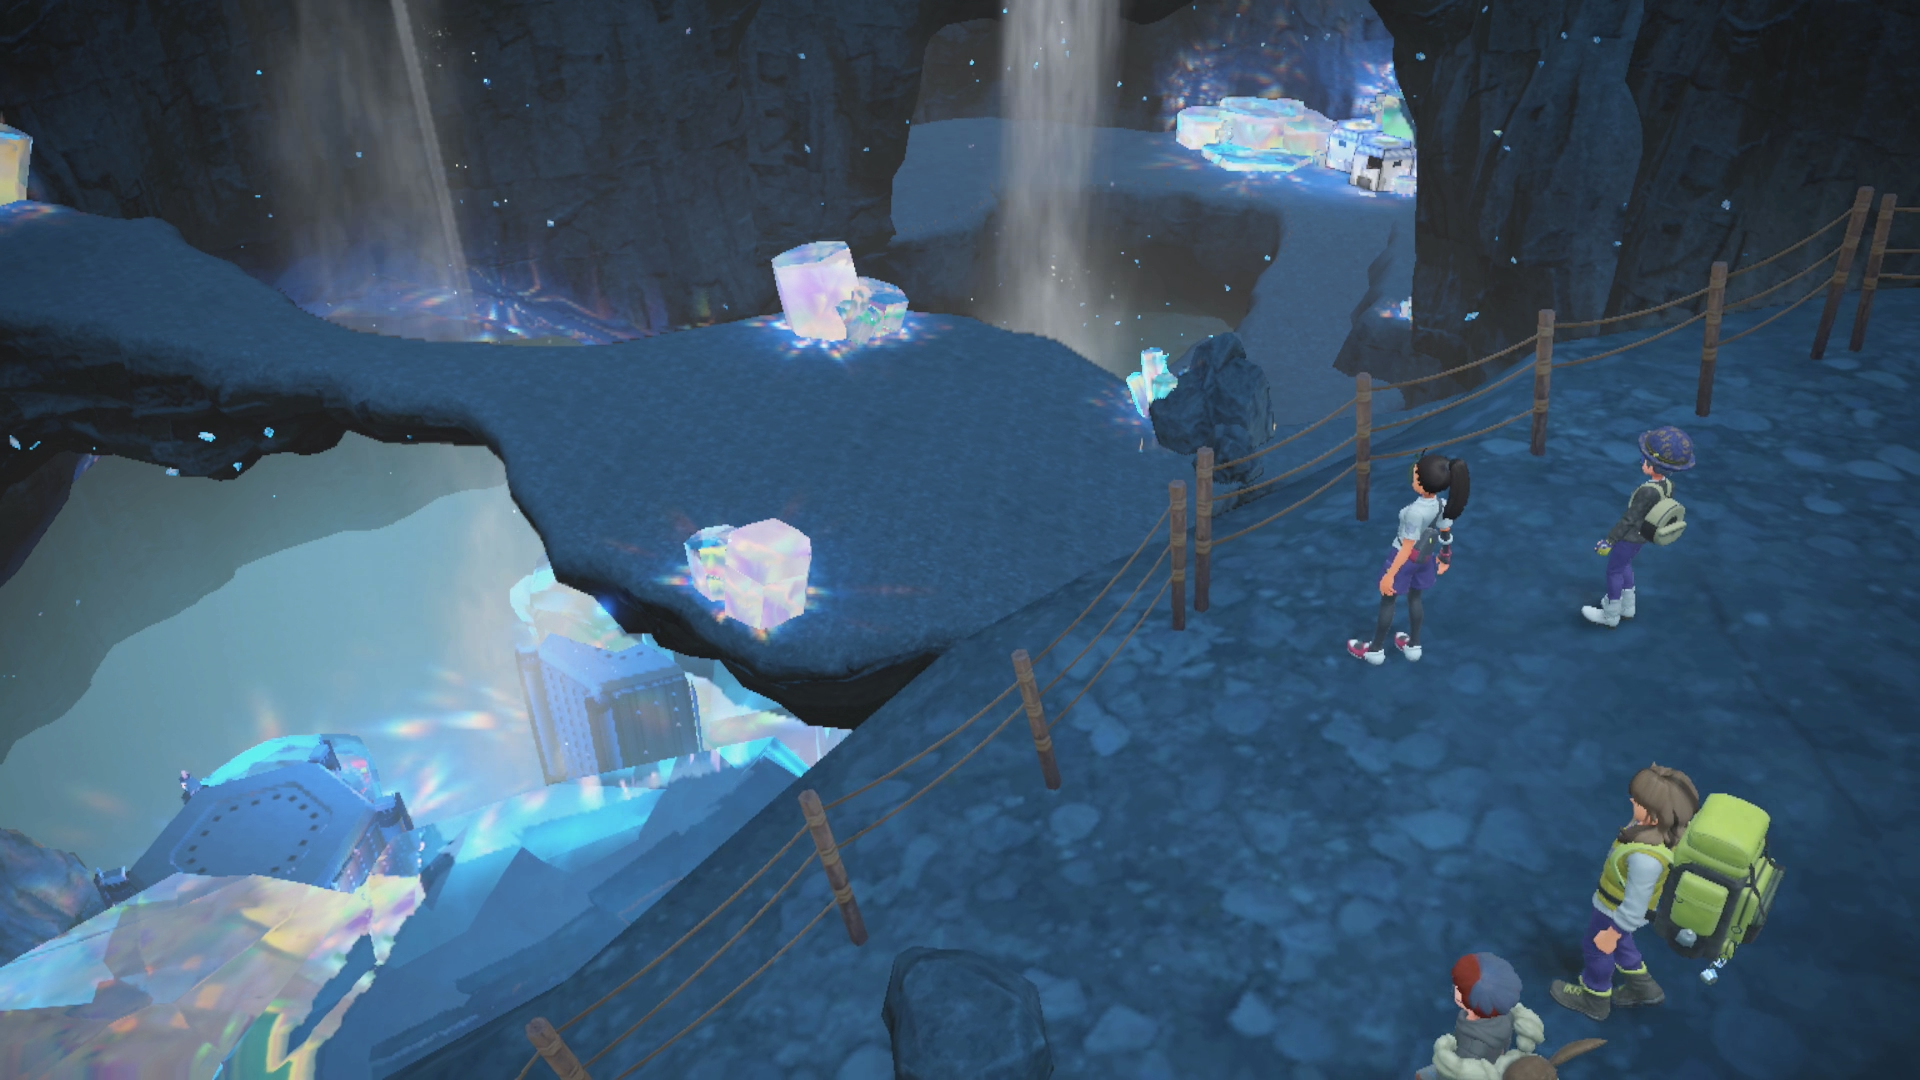
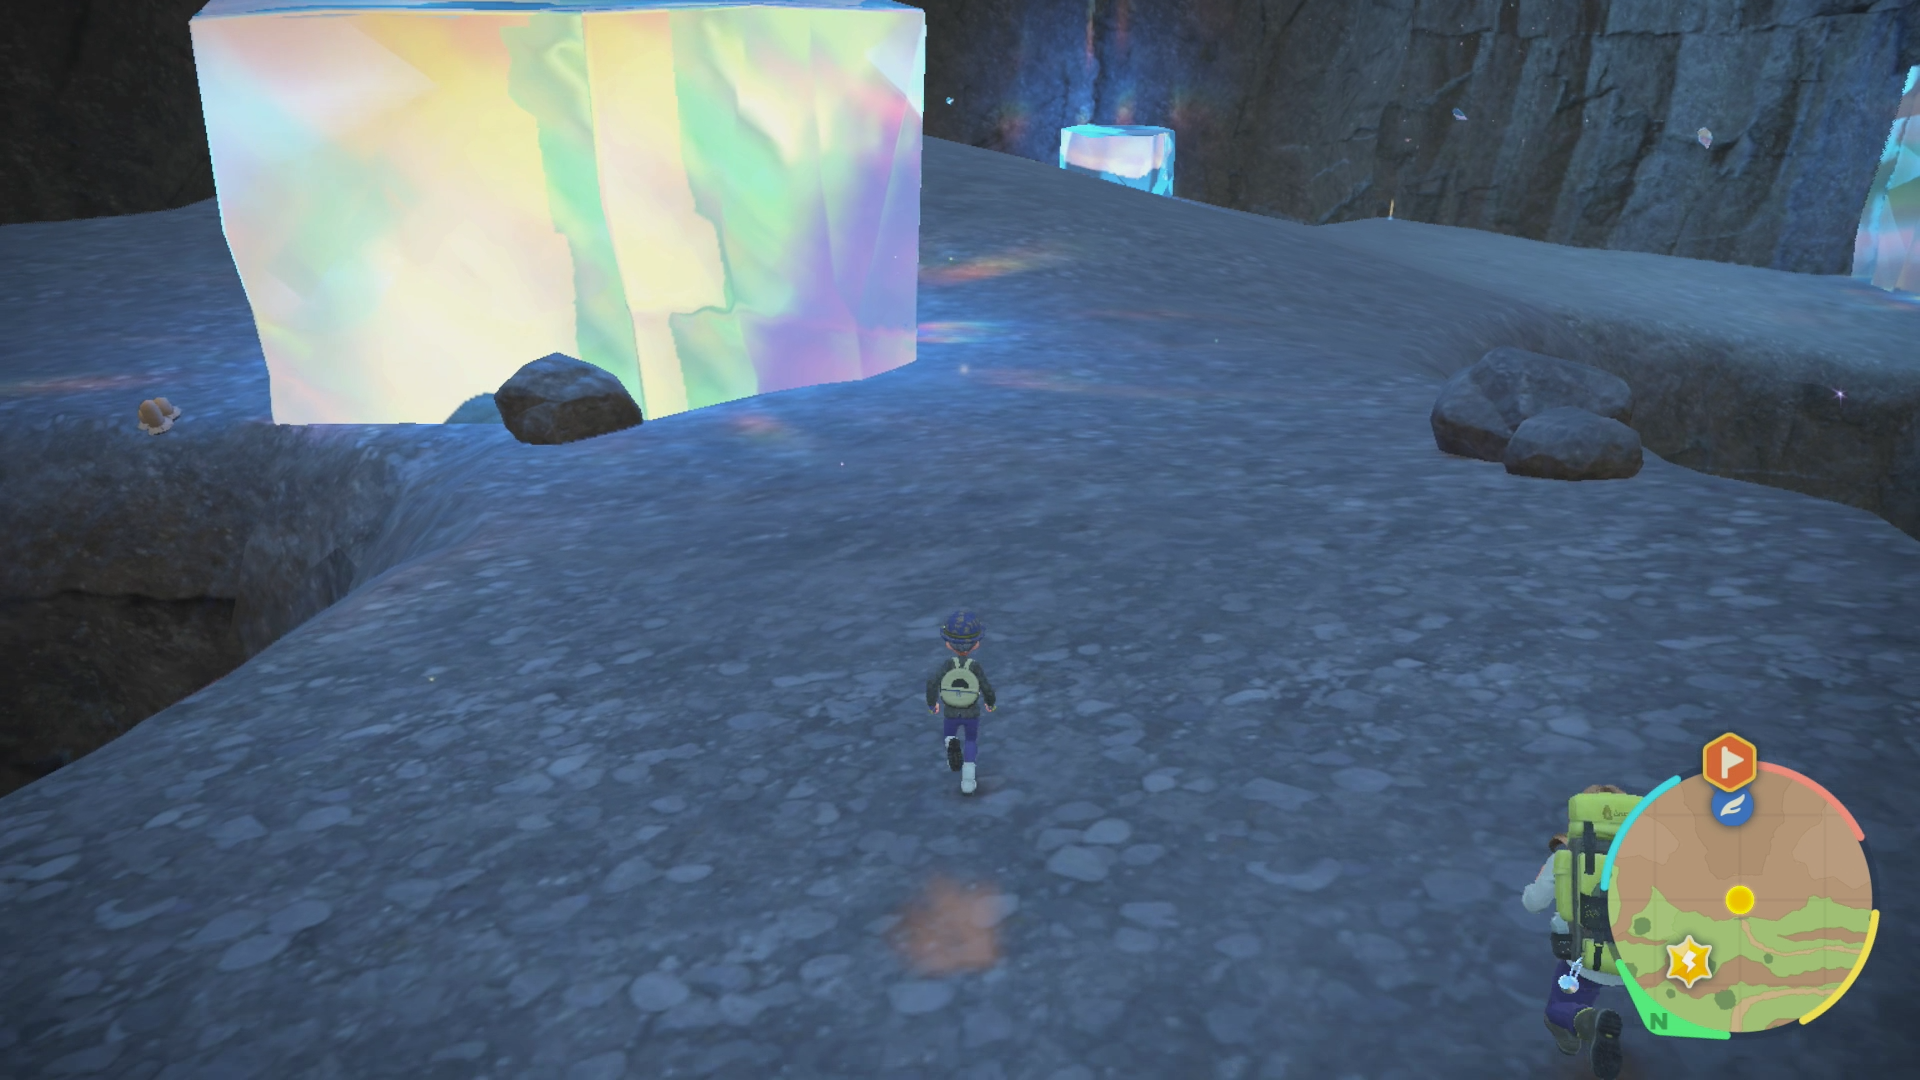
Keep following the path forward, heading down the slope until you see an area that’s a bit more opened up with a very large gem against one of the pillars. From here, continue going forward, through a long tunnel, and then you’ll eventually arrive in another wide-open area with Research Lab #4 easy to spot in the distance.
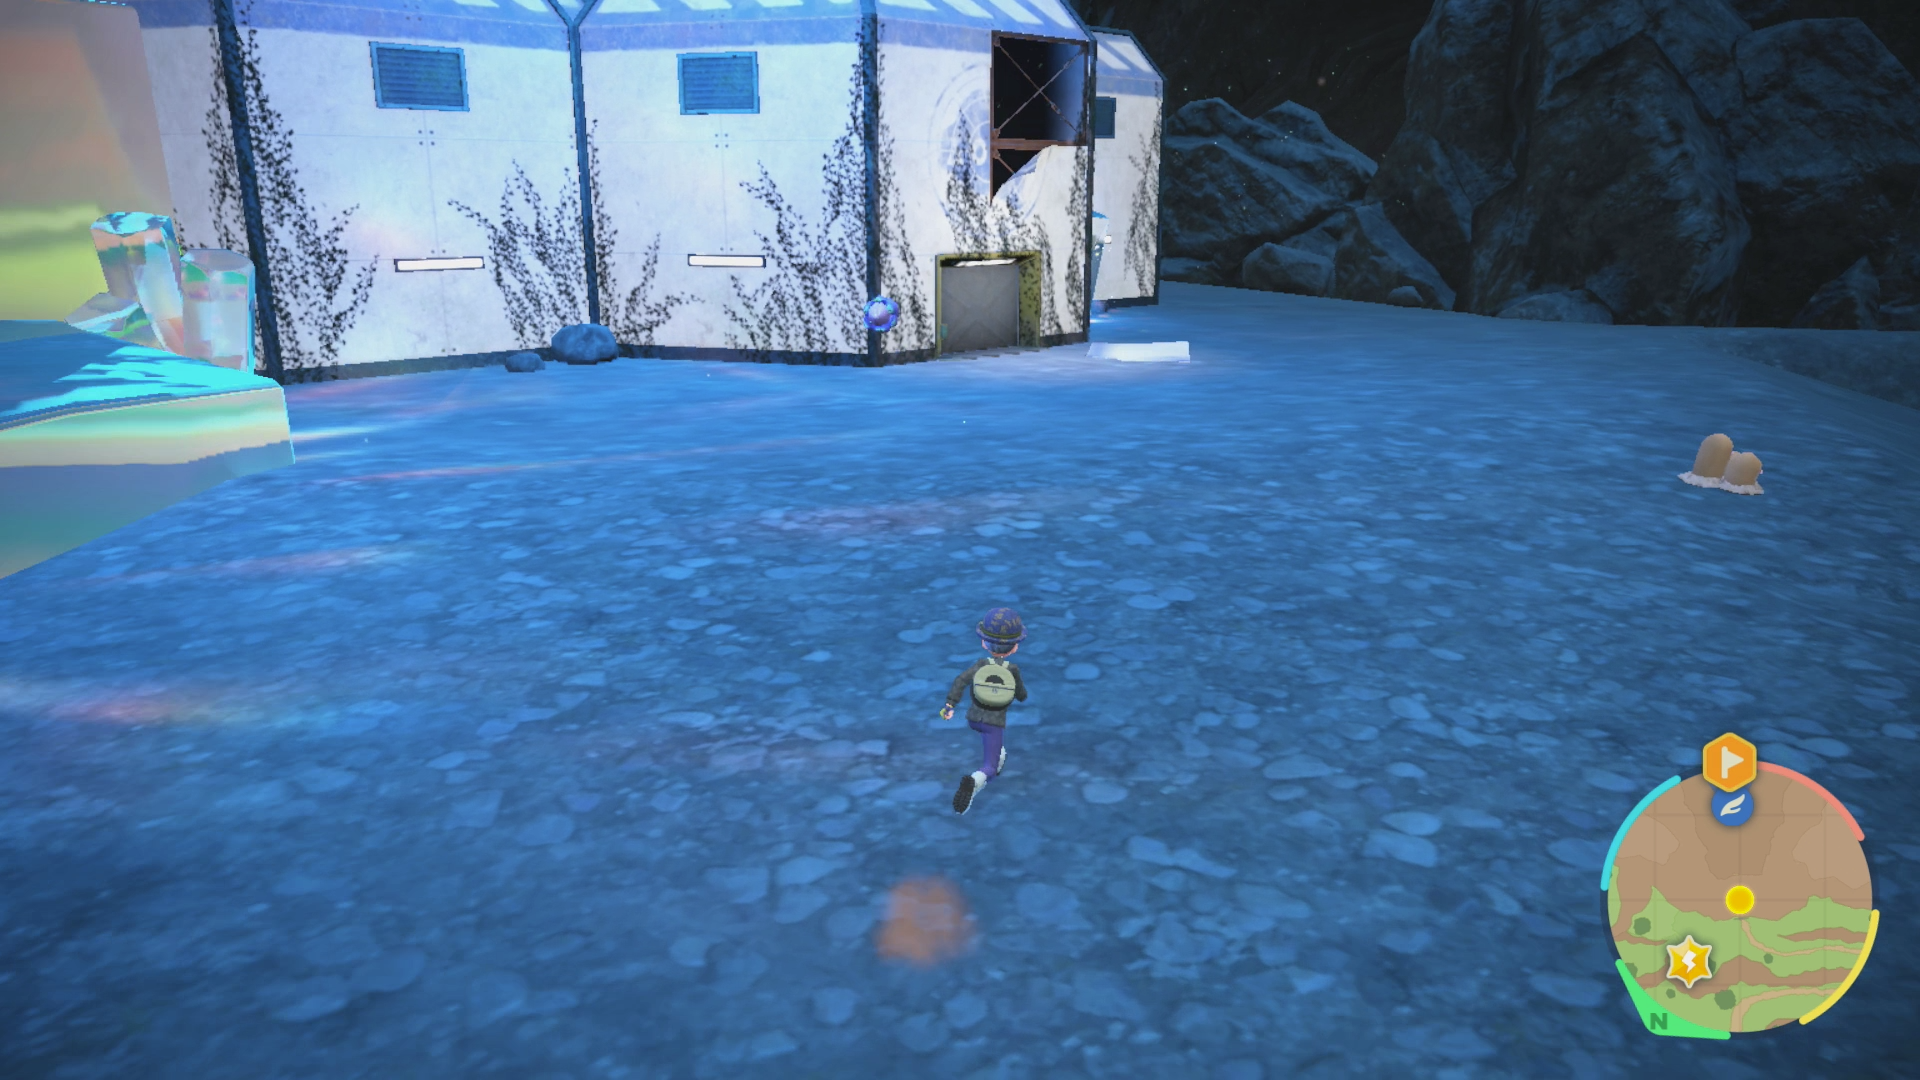
Just make your way over to Research Lab #4 and go inside. You won’t have to fight anything immediately, but you will soon enough, don’t worry.
Disable the lock and, if it’s your final lock, you’ll hear some rather peculiar dialogue coming from Professor Sada/Turo. Rest up if you need to, and then you’ll need to make your way to the Zero Lab at the bottommost level of the cavern.
Getting to the Zero Lab
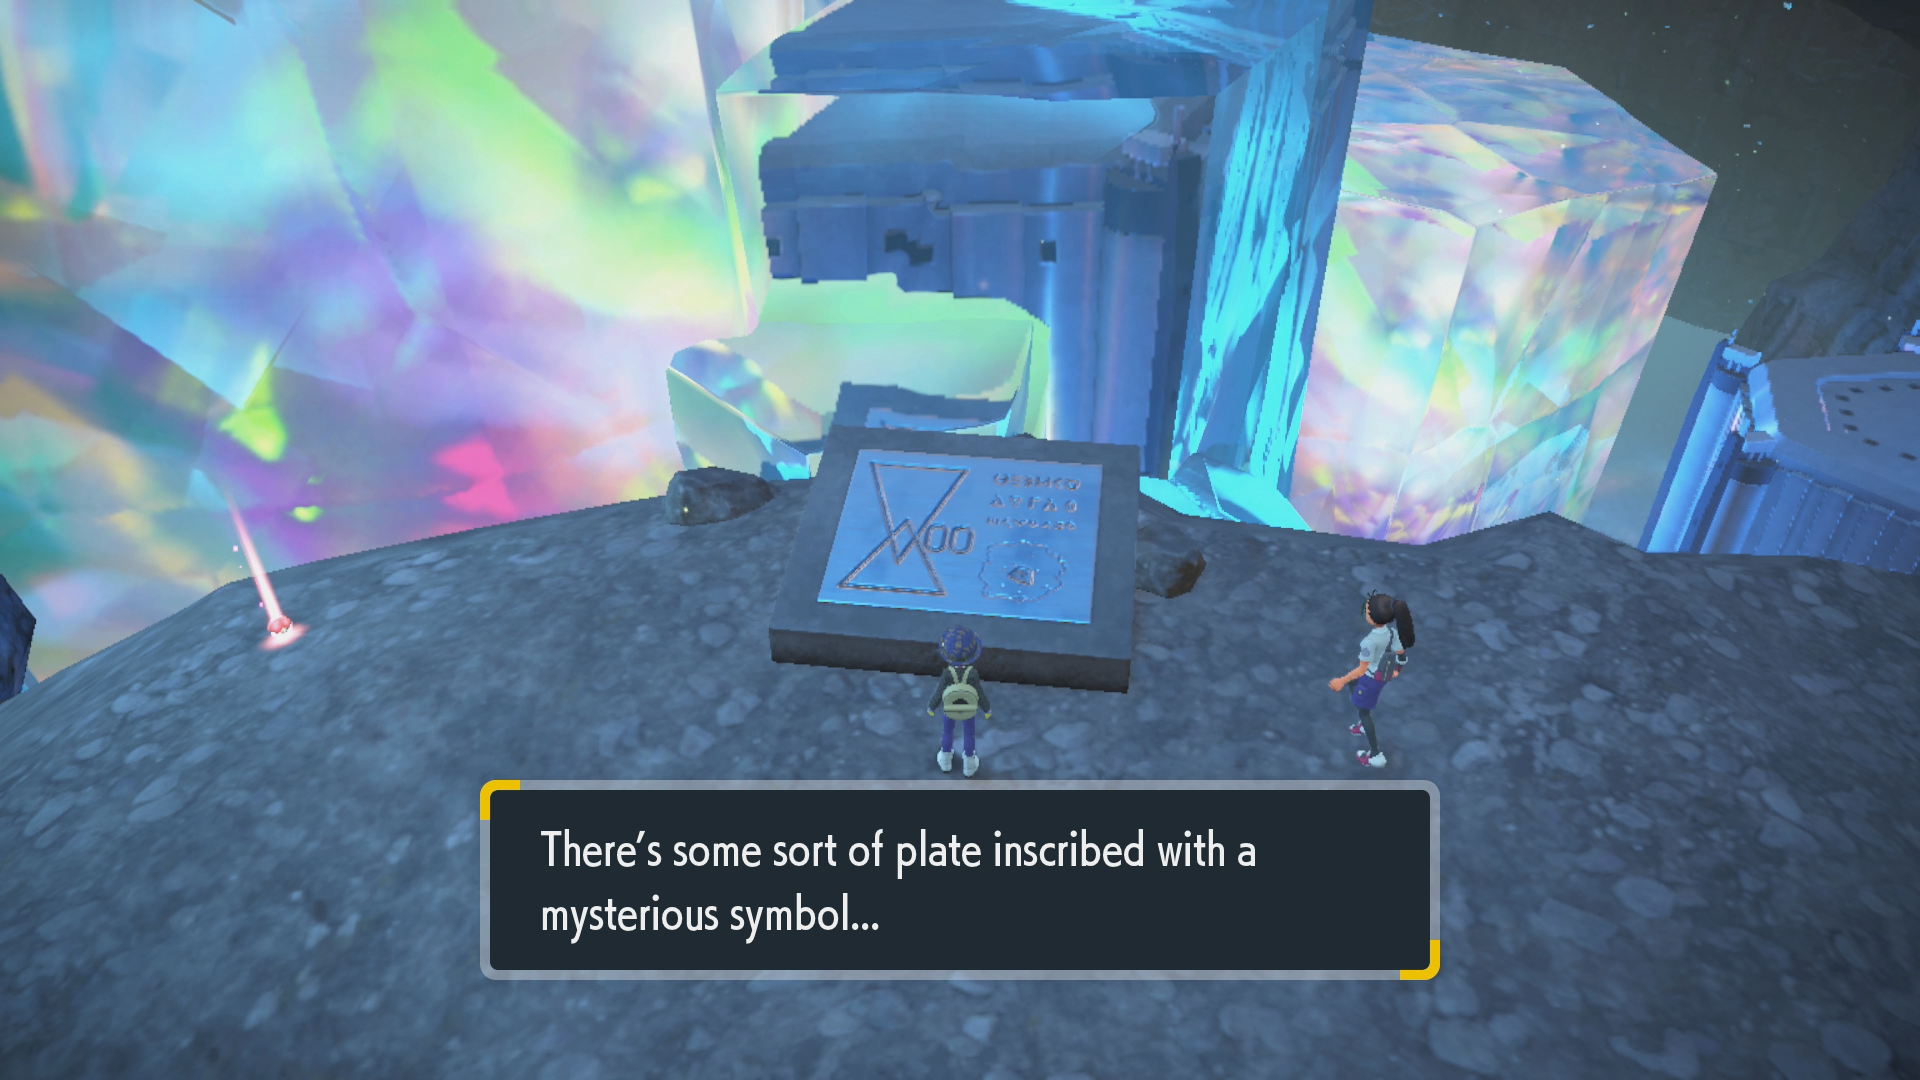
From where you exit Research Station #4, continue straight forward, down the slope and keep going forward until you find a stone plate with a weird marking and the option to go either left or right. Go left from the stone plate and then keep following the path until you find a rather large circular area.
The way to continue is a little hard to see at first glance from this circular fenced-in area, but it’s actually to the forward-right, where there are no fences—that’s because it’s actually another slope leading further down.
Keep going down that path, taking a right when you need to, generally continuing forward but adjusting your direction to fit the winding curves of the path. Don’t worry, as long as you are headed downwards, you’re going in the right direction, at least for now.
After a bit more traveling, you’ll find a very large, flat gem and another somewhat-open area. Take a right and follow the ramp downwards once again. Continue following the ramp until you see it connect to the water on the very bottom.
Once you’re at the water on the very bottom, the entrance to the Zero Lab is right in front of you!
Opening the Zero Lab
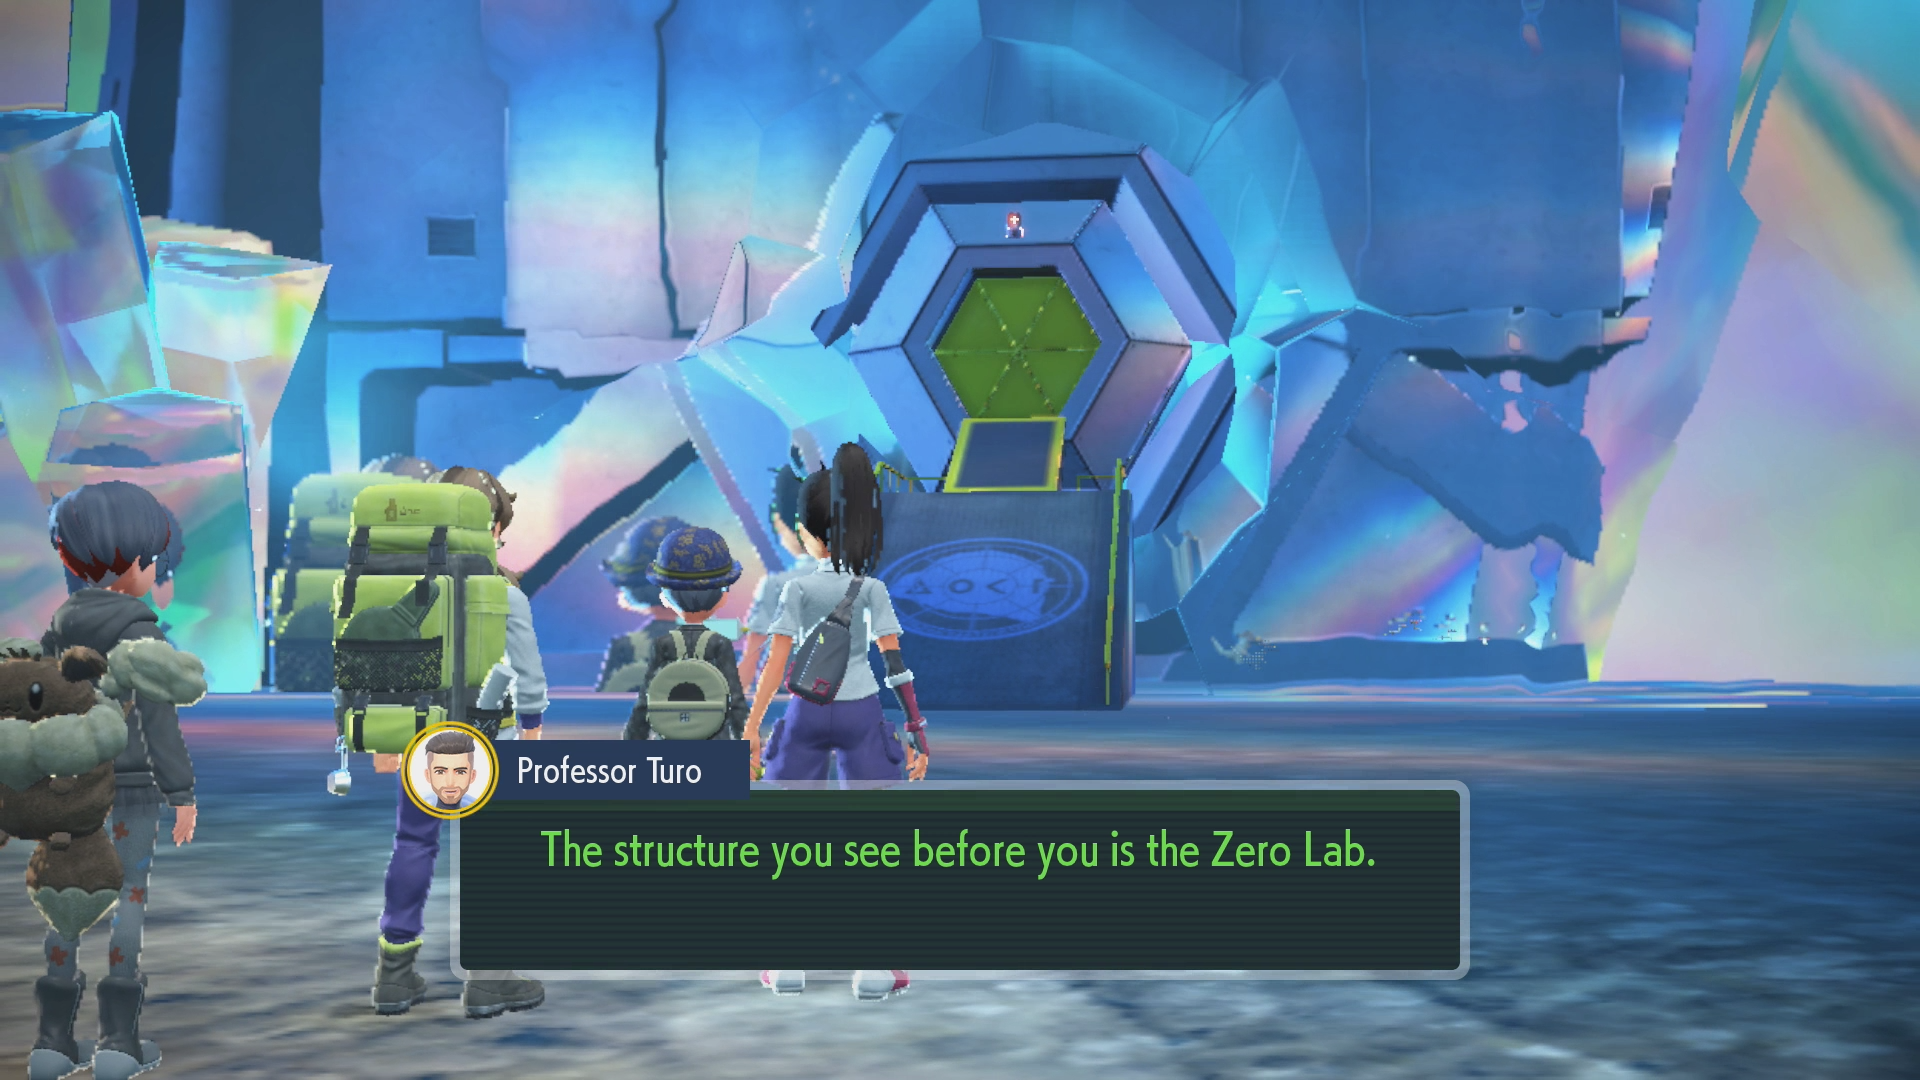
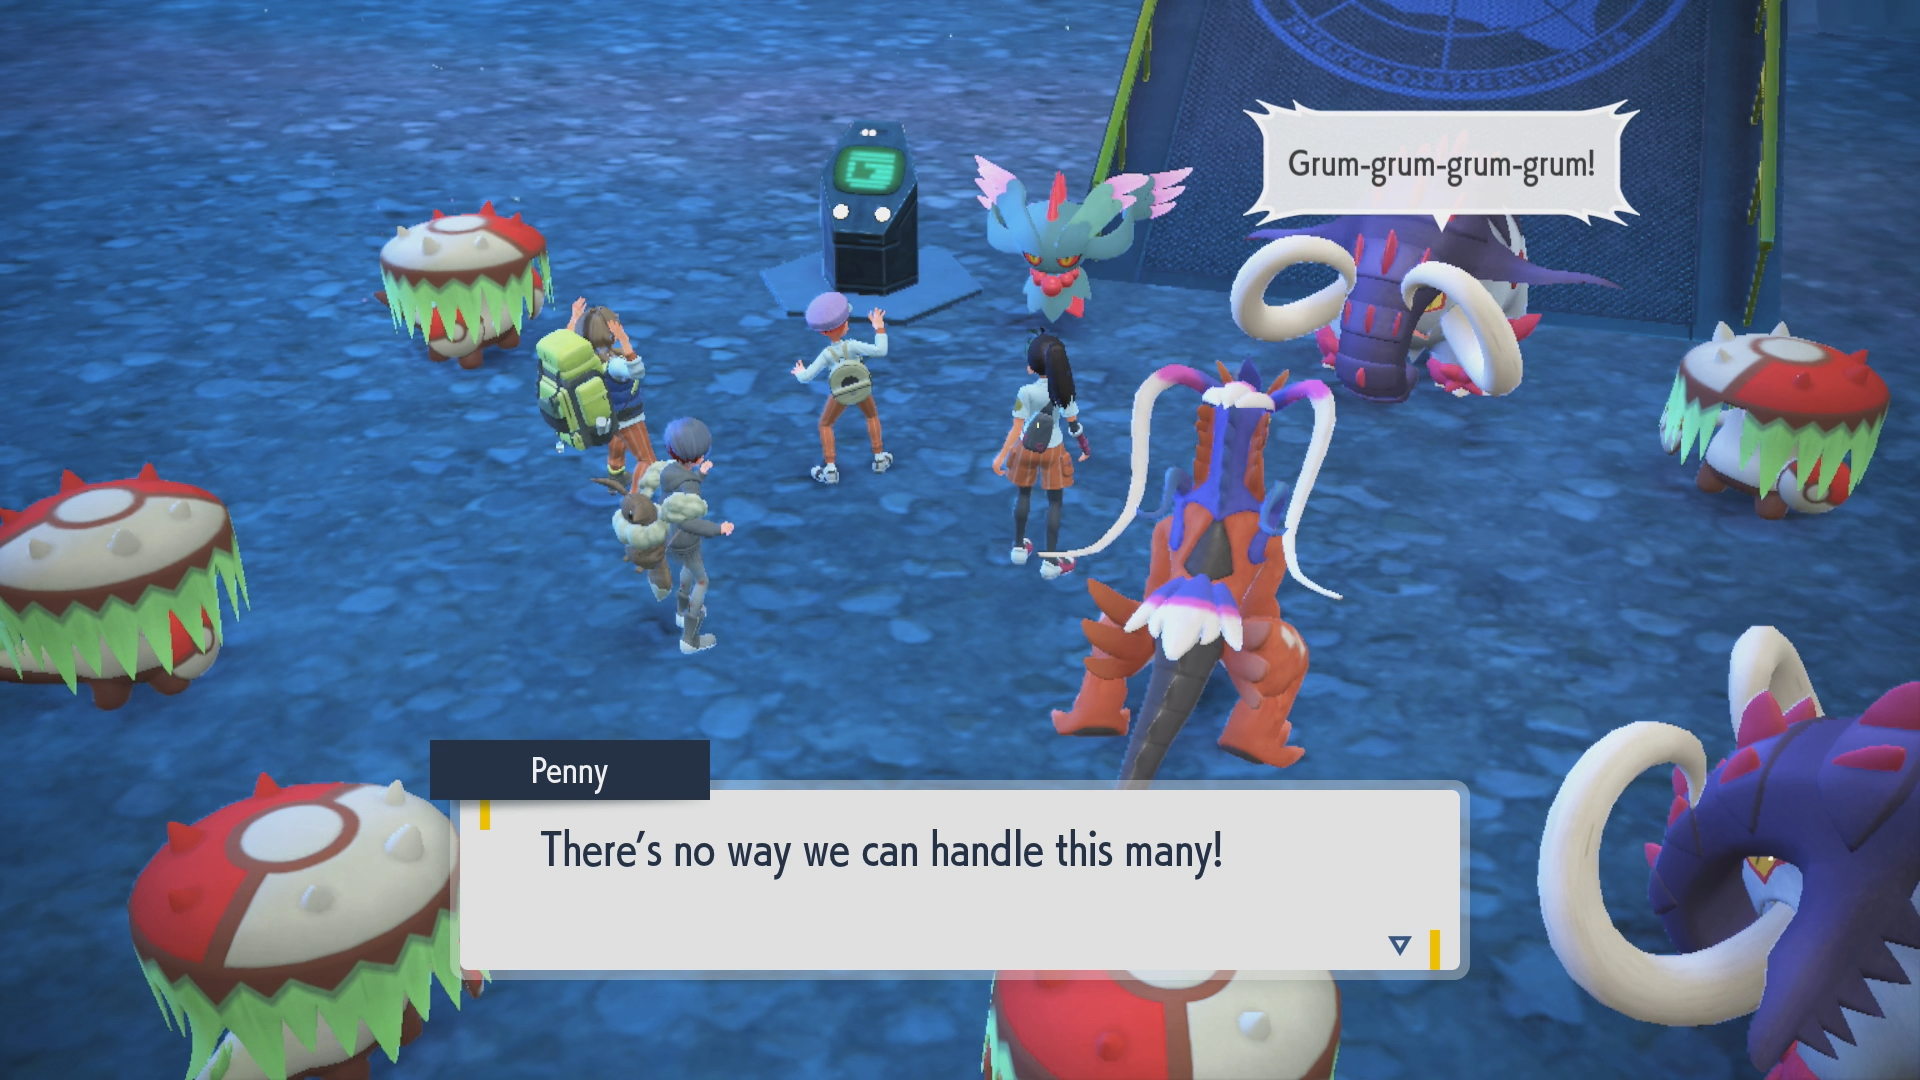
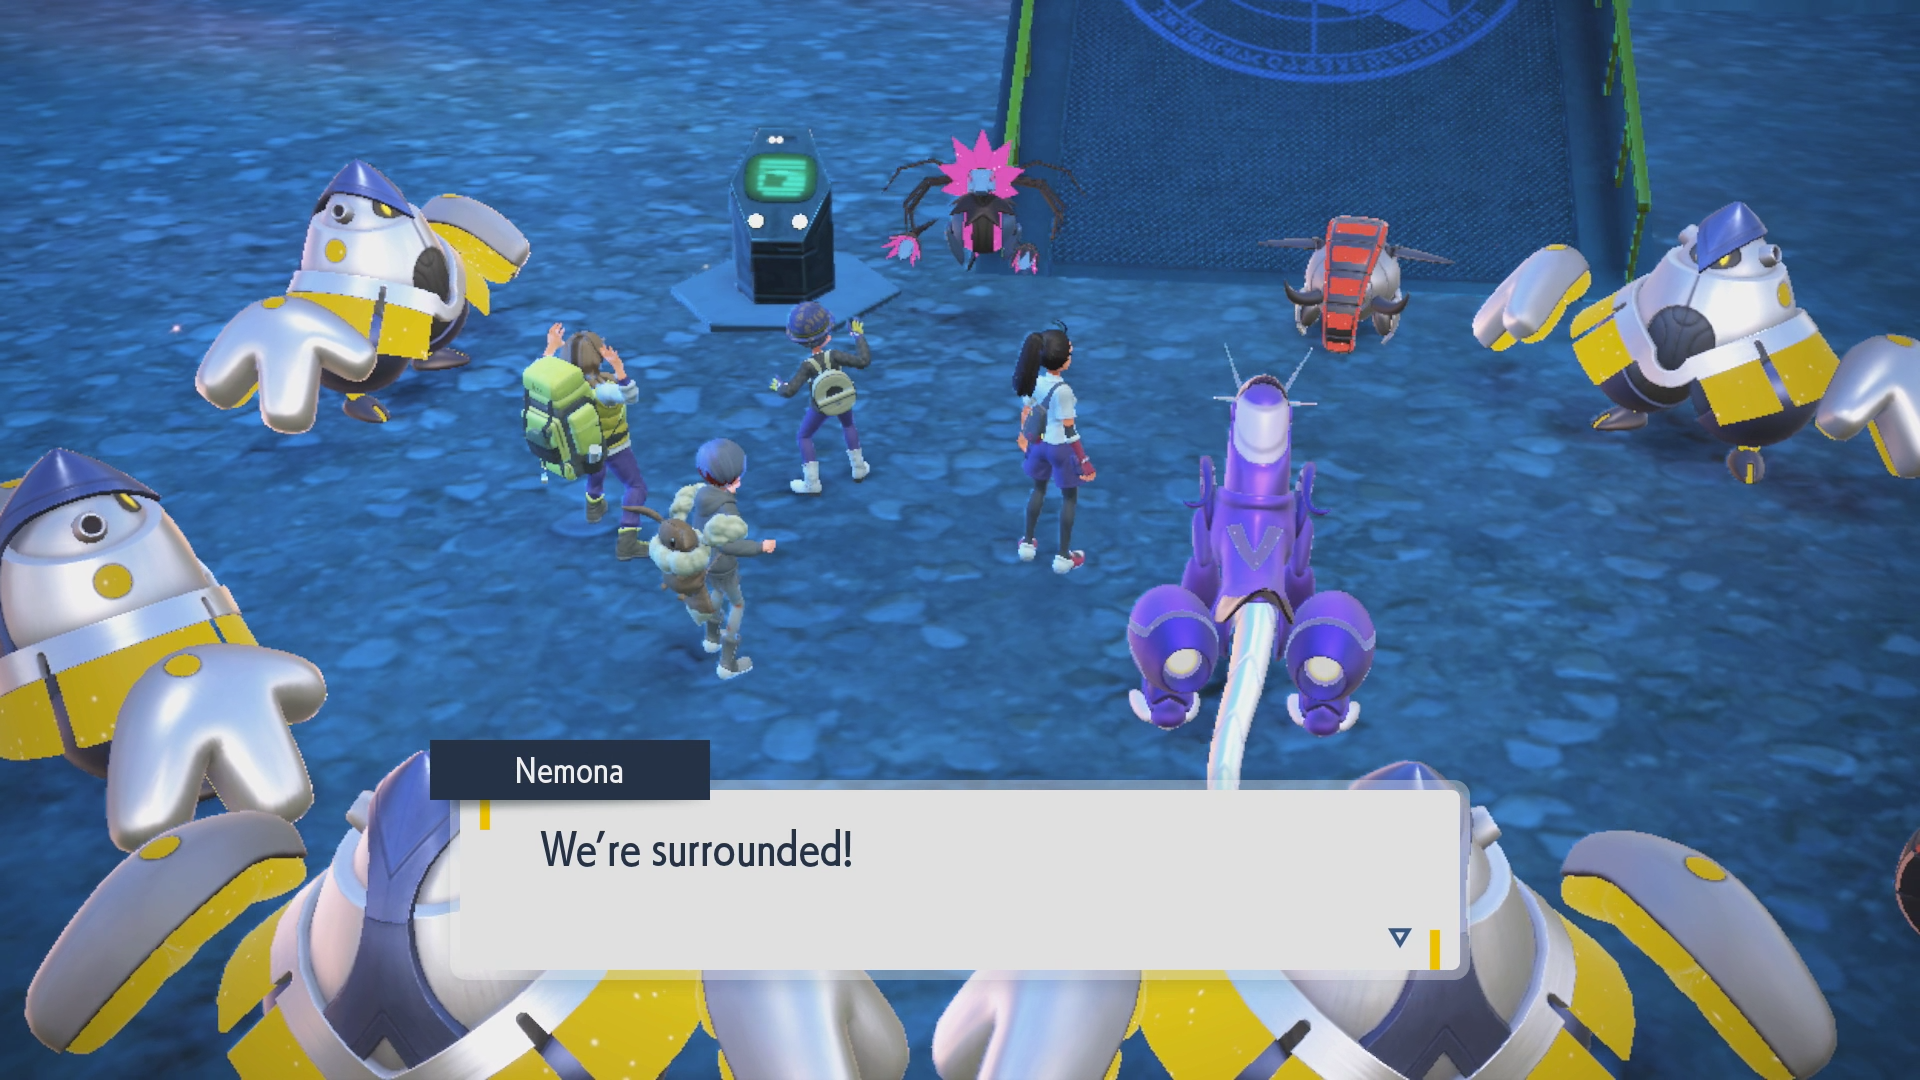
After some discussion between the Professor and your friends, you’ll be told that many of the dangerous ancient/future Pokémon will break out from the Zero Lab after opening the gate and that you should be prepared for a fight. Make sure you’re healed up and ready for a few battles.
Which Pokémon you have to fight depends on your version, so keep that in mind, and also note that you will not be able to catch any of them during these battles, so just focus on knocking them out. Whenever you’re ready, press A against the computer panel by the Zero Lab.
Battling Ancient Pokémon (Scarlet)

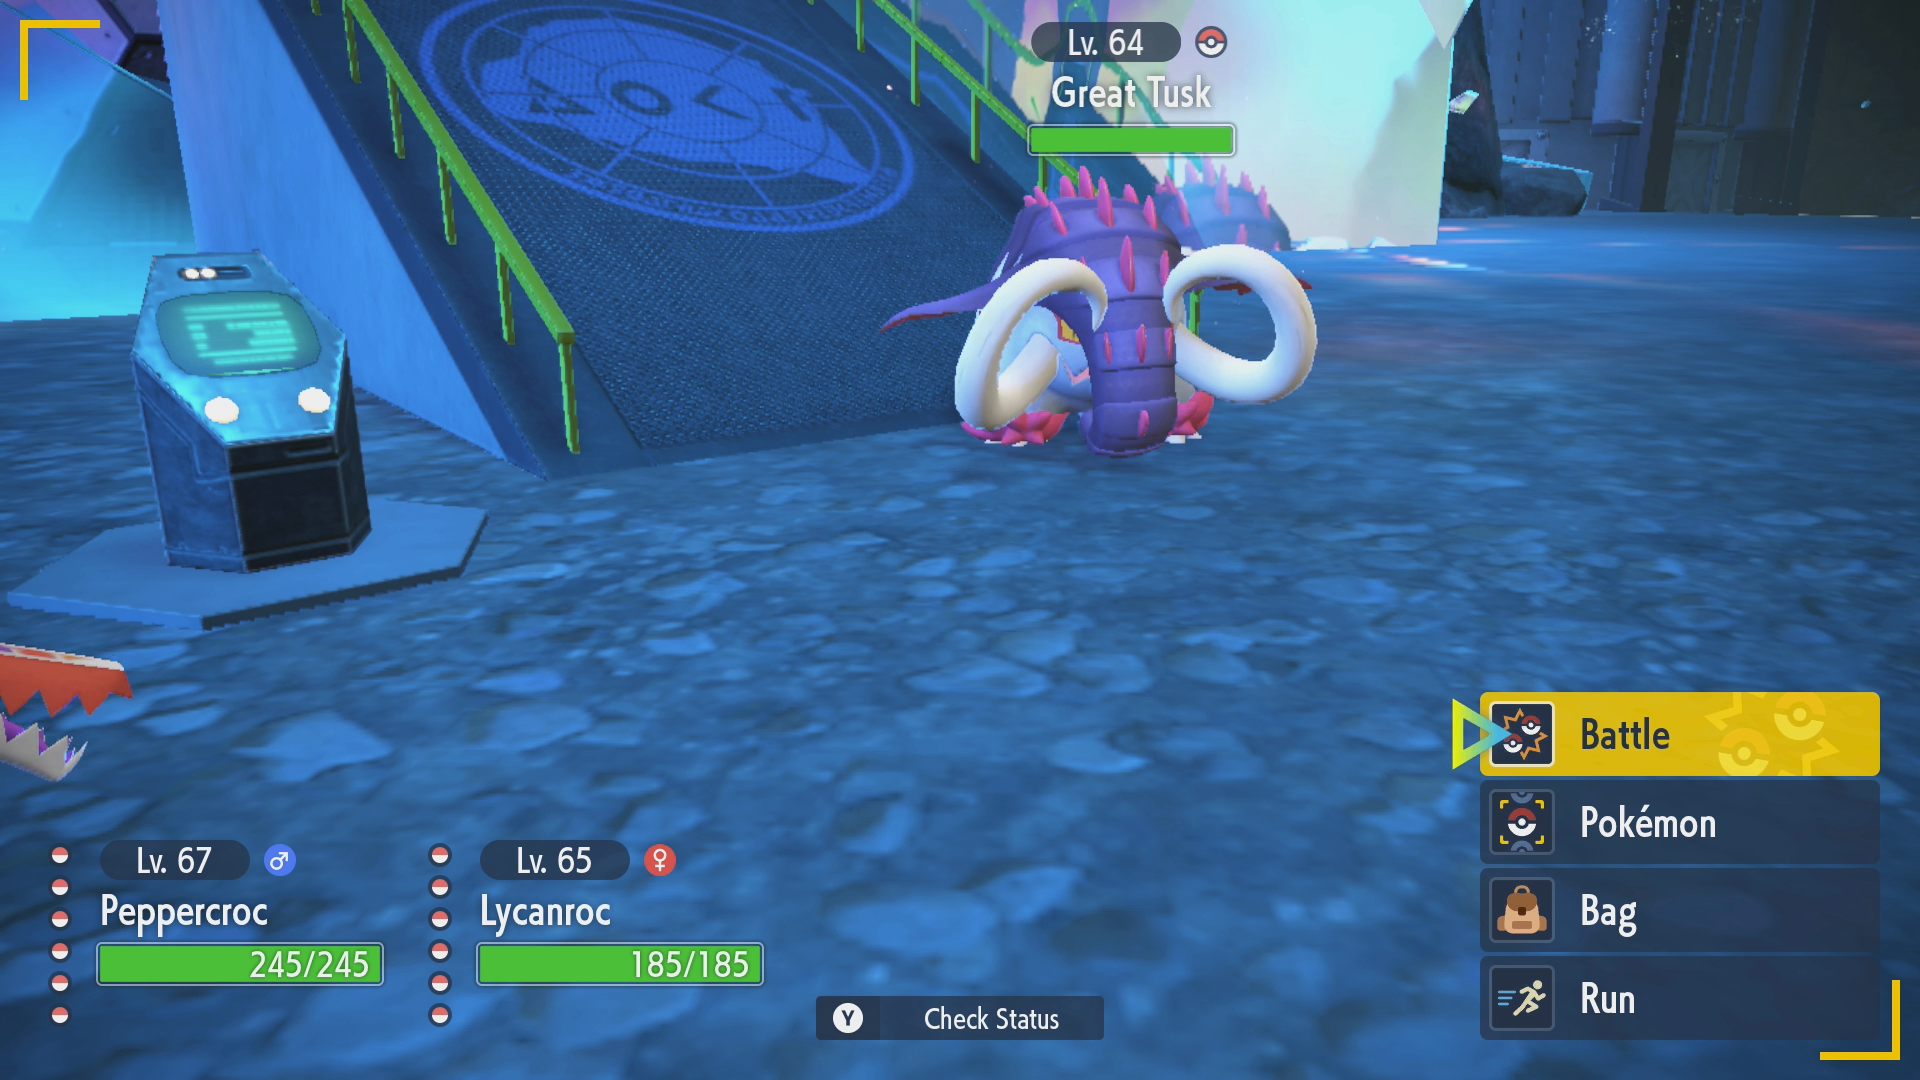
You’ll fight against another Great Tusk first, although this one is at level 64. Nemona will join you for the fight, using her Lycanroc Lv. 64, along with the rest of her team if Lycanroc faints.
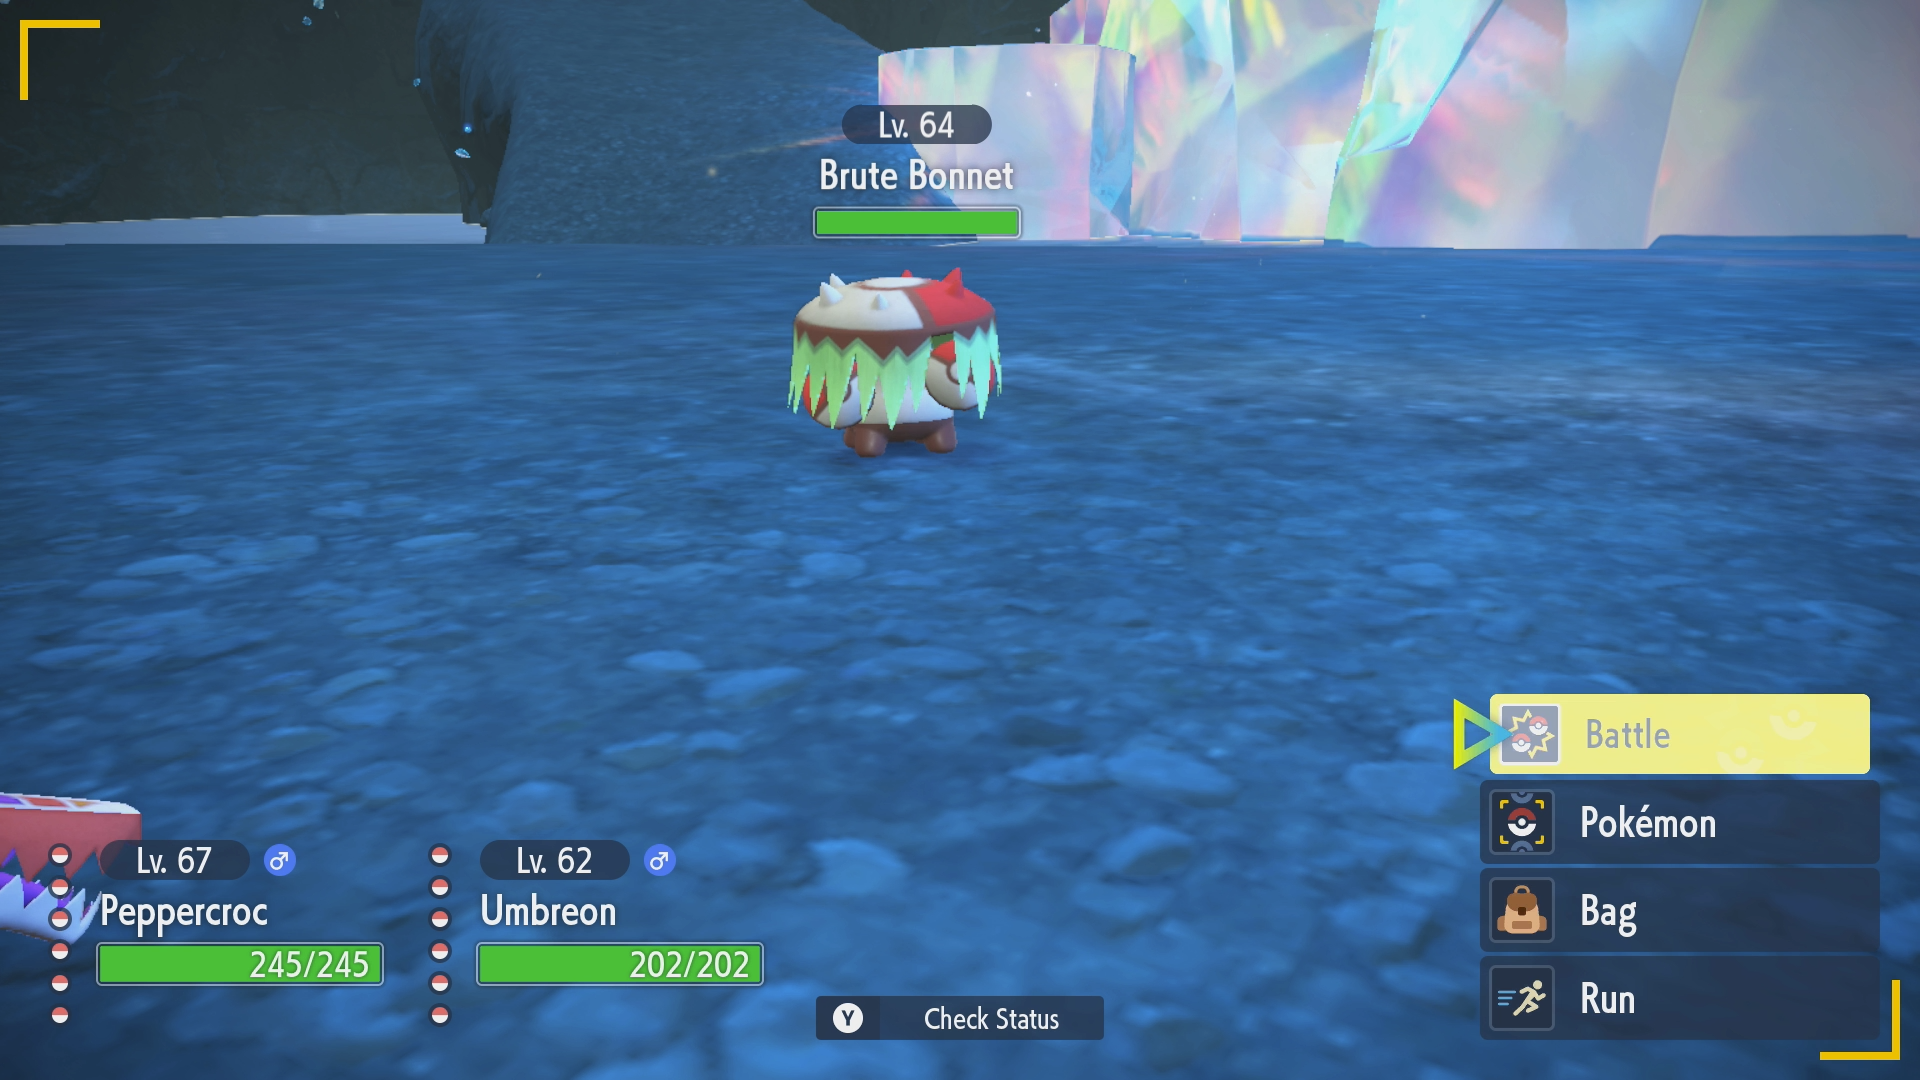
The second battle is against a Pokémon called Brute Bonnet, which you probably haven’t seen yet. It’s at level 64 and you’ll be joined by Penny for the battle. She leads with her Umbreon Lv. 62.
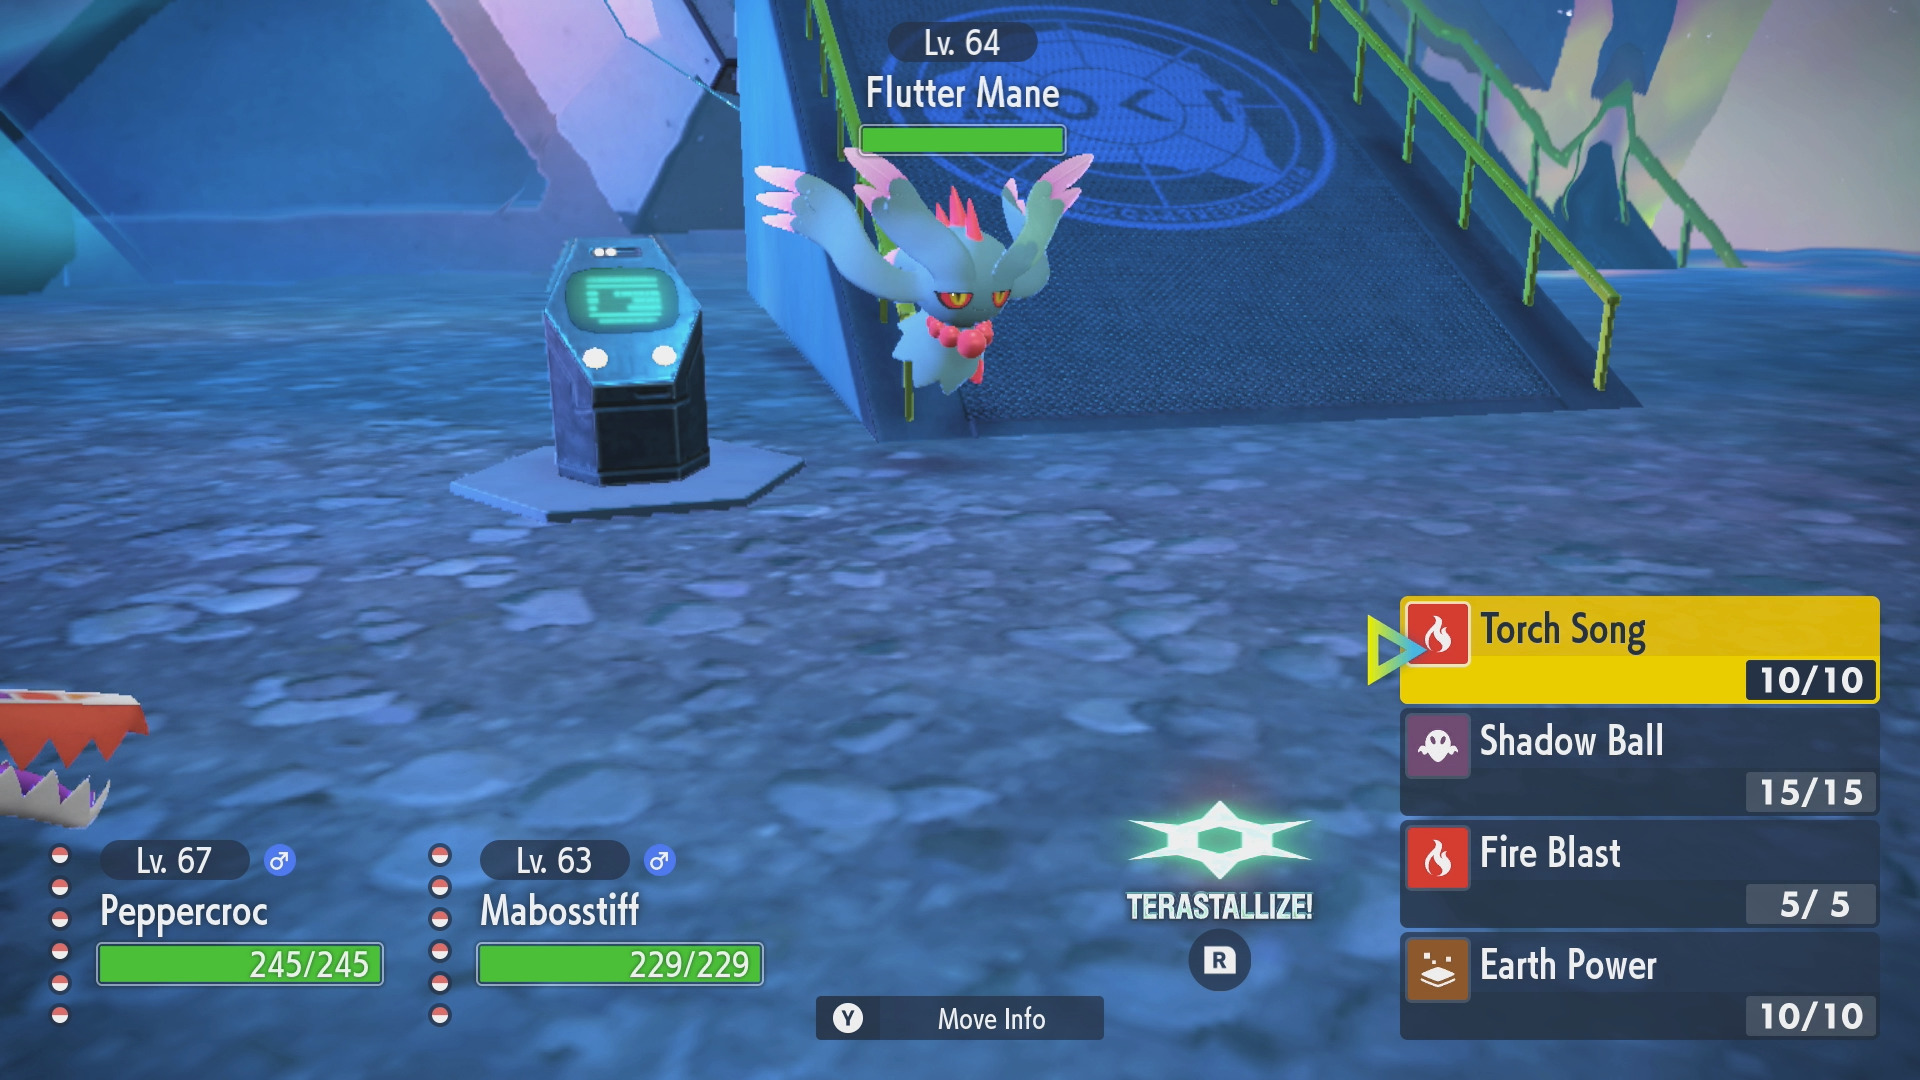
Lastly, you’ll have to fight against a Pokémon known as Flutter Mane at level 64. Arven will join you for the fight, using his Mabosstiff Lv. 64, and will use the other Pokémon in his party if Mabosstiff faints. You might have seen some Flutter Mane during your trip down if it was nighttime in Paldea (they only spawn at nighttime, even though it appears to be perpetually daytime in Area Zero).
Battling Future Pokémon (Violet)
Your first battle will be against another Iron Treads, although this one is at level 64. You’ll be joined by Nemona and her Lycanroc Lv. 65, along with the rest of her team if Lycanroc faints.
The second battle is against a Pokémon called Iron Hands, which you might not have seen before. It’s at level 64 and Penny will accompany you in this battle, leading with her Umbreon Lv. 62, which probably isn’t the best choice on her end (although it does at least have a super effective move).


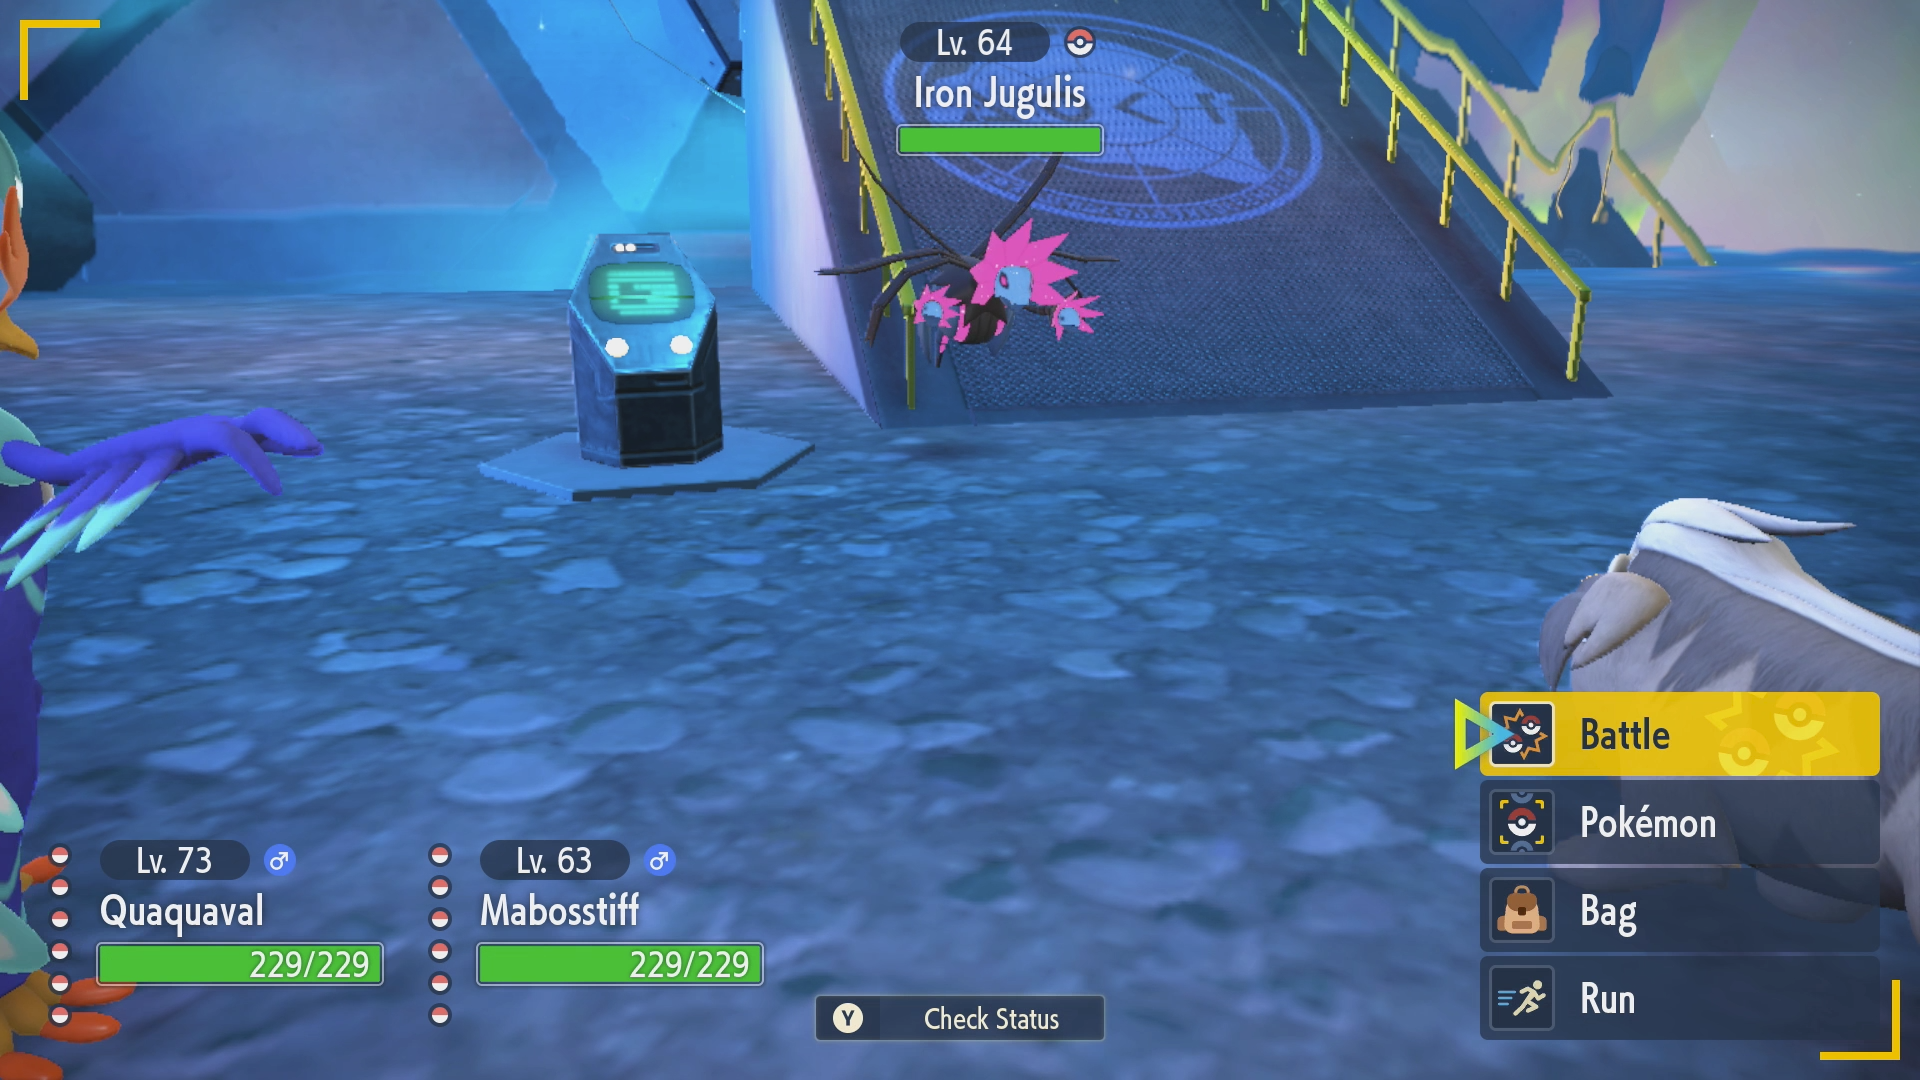
Lastly, you’ll need to fight against a Pokémon called Iron Jugulis, which you may have run into on your way down to the Zero Lab, although you haven’t had any forced fights against it. It’s at level 64, like the others. Arven will help you fight it, and he uses his Mabosstiff Lv. 63 to fight it.
Into the Zero Lab
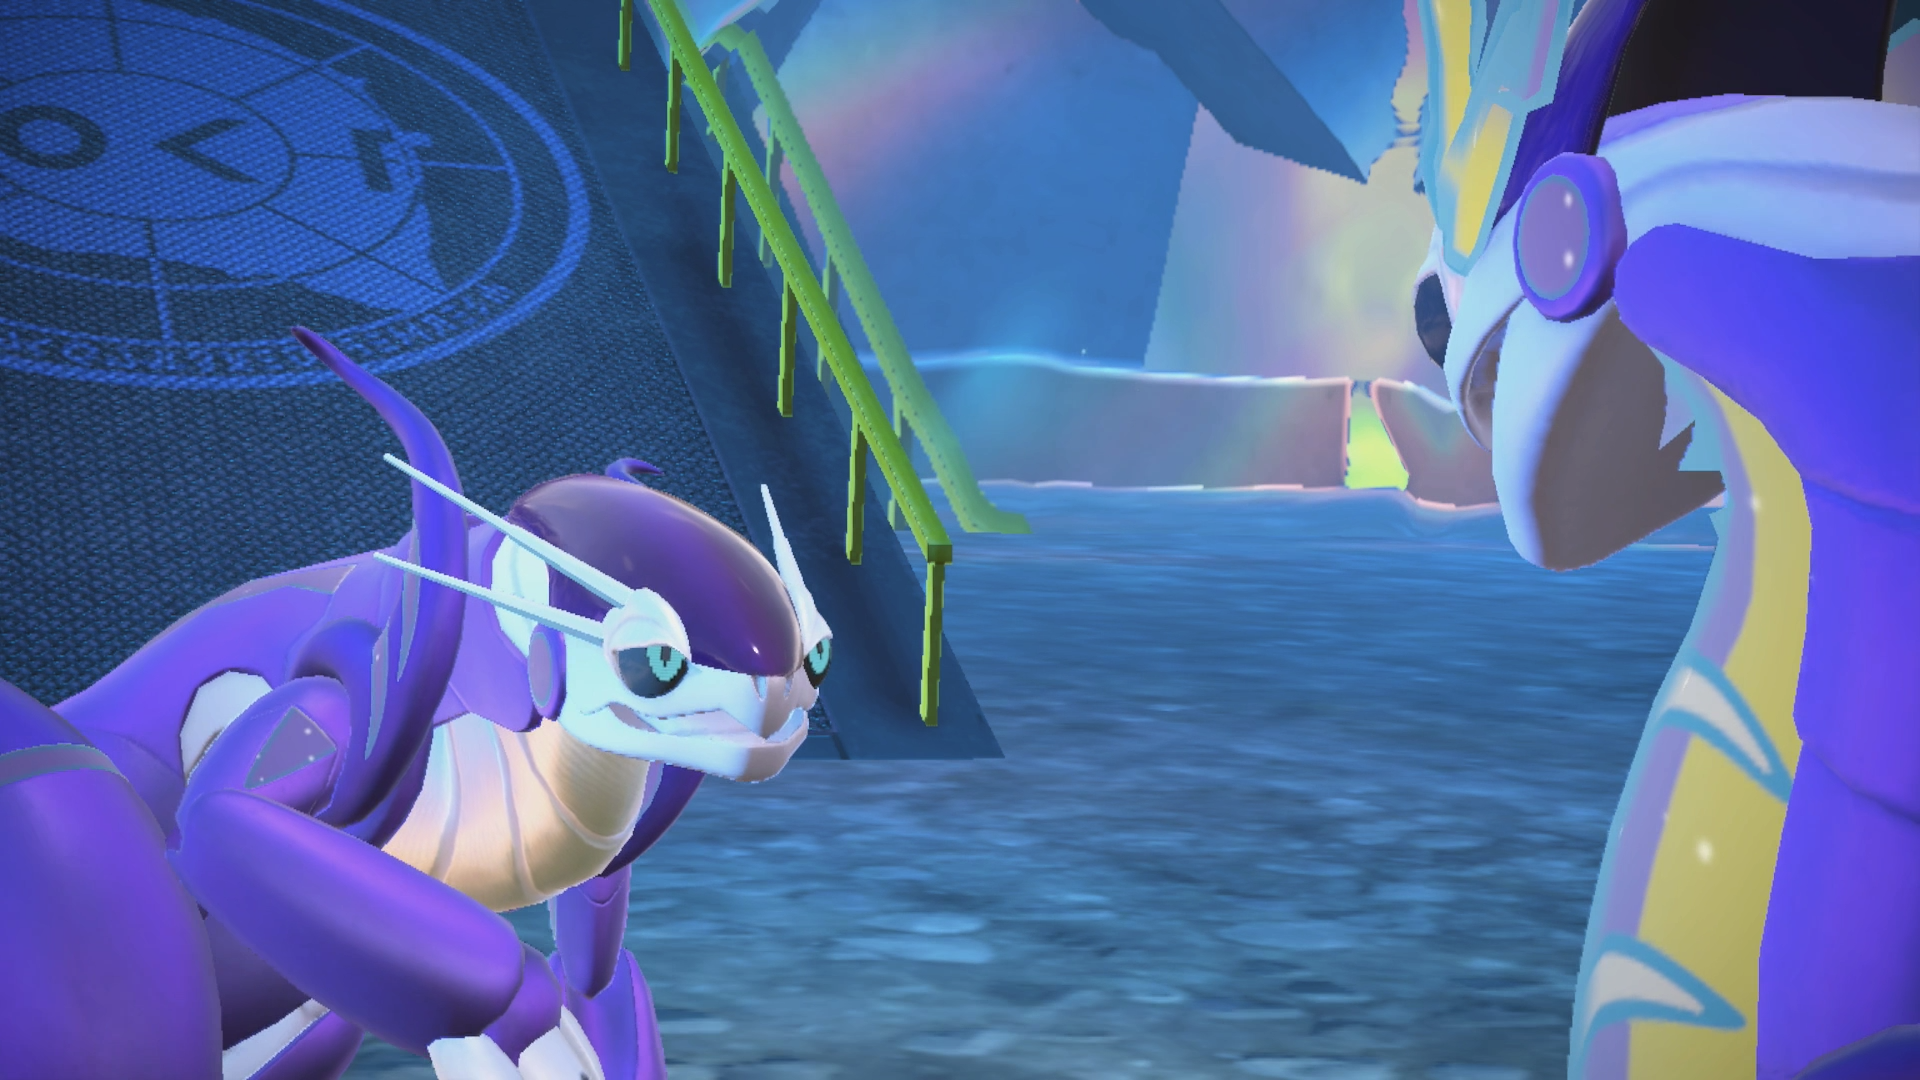
After you’ve defeated the three Paradox Pokémon with the help of your friends, you’ll now need to head inside of the Zero Lab to meet with the Professor. You’ll automatically be healed, so don’t worry about that, but you will want to make sure your Pokémon are in order with the proper moves and items.
You can also save your game at this point as well as leave the area if you want, but really you should make your way inside, because things are about to get good.
This is your warning: you are about to fight the final battle in the main storyline! Additionally, the final battle is completely different depending on which version you are playing, so make sure you choose the correct version down below to match the one you’re playing!