You’ll start the game in your room. You can check out a few of the accessories around and also find a message from Trace, your rival, on your computer giving you some basic tips, but your main objective right now should be heading downstairs.
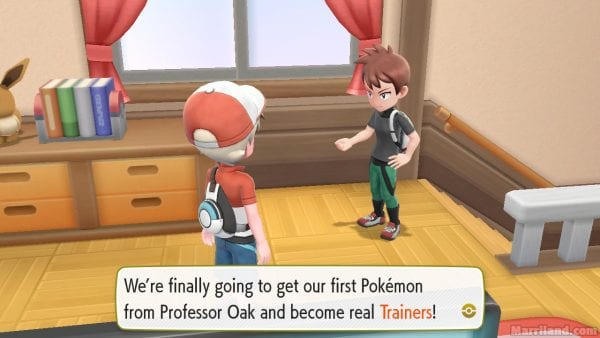
As you attempt to head down the stairs, you’ll be interrupted by Trace. He’ll say a few things about being excited for the two of you to get your first Pokémon from Professor Oak today, will remind you to check the email on your computer — which is entirely optional — and will then head off to Professor Oak’s Lab.
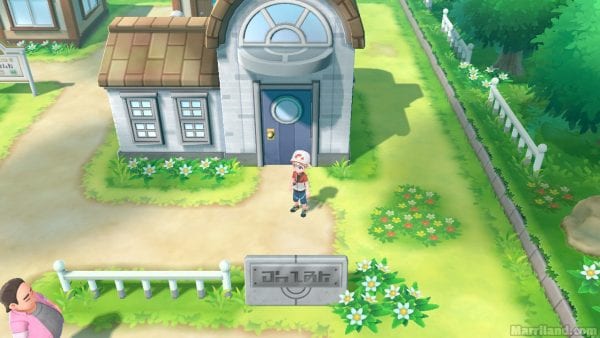
Head down the stairs and out the door, optionally saying hi to your mother before you leave. Professor Oak’s Lab is the big building in the southeast portion of town. Trace’s house is the one to the east of yours.
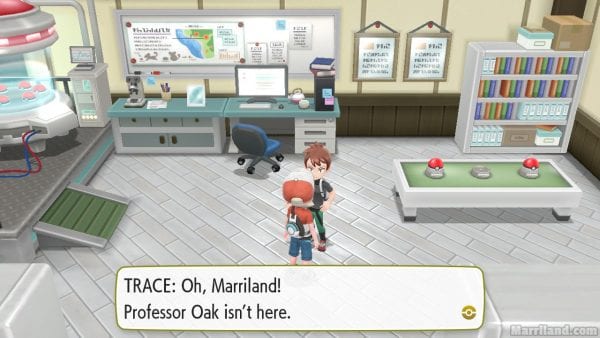
If you go inside of Professor Oak’s Lab, you’ll find that he’s not there. It’s just Trace waiting around for him. Hmmm. So much for that.
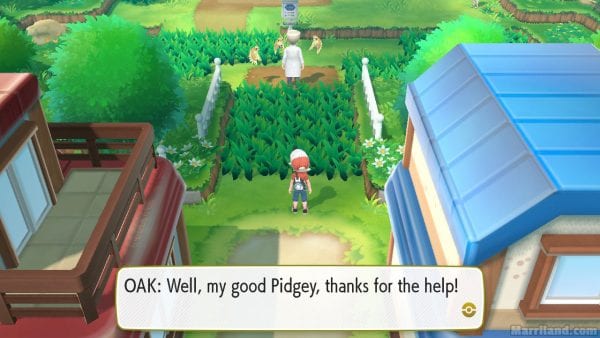
With Professor Oak nowhere to be found, head to the far northern part of town, into the tall grass, and you’ll find Oak there talking to some Pidgey. He’ll suggest that you go back to the Lab to be given a Pokémon, but he’s interrupted by a wild Pokémon charging towards you — it’s either a Pikachu or an Eevee, depending on your version.

Professor Oak will instruct you how to catch Pokémon. Pay attention, because the catching mechanics can take a bit to get used to, as they are entirely different from the rest of the main series games.
The controls also depend on which controller you’re using to play the game with — you can play it with either single Joy-Cons held upright, the Poké Ball Plus accessory, or the Switch in handheld mode with both Joy-Cons attached.
- When using the single Joy-Con, hold it horizontally and point it towards the screen. When you’re ready to throw a Poké Ball, press the A button or ZR button, raise the Joy-Con so it’s held vertically, and then lower it back down horizontally to throw it. You don’t need to hold A/ZR. (Note: if using the Left Joy-Con, you’d press ► or ZL instead.)
- When using the Poké Ball Plus, you’ll press the center button on the Poké Ball to ready the Poké Ball, raise it up, and then lower it to toss it.
- When playing in handheld mode with both Joy-Cons attached to the Nintendo Switch, you press A (or ZR or ZL) to ready the Poké Ball and then, once you’re ready, you move the Switch around to aim and then press A/ZR/ZL to toss the Poké Ball towards the center of the screen.
It’s pretty much impossible to fail catching your Pikachu or Eevee, so don’t worry too much about it. After catching it and after a bit of dialogue, the Pokémon will bounce all around in its Poké Ball, begging to be freed. It will dash off to the Lab and the two of you will chase it there.
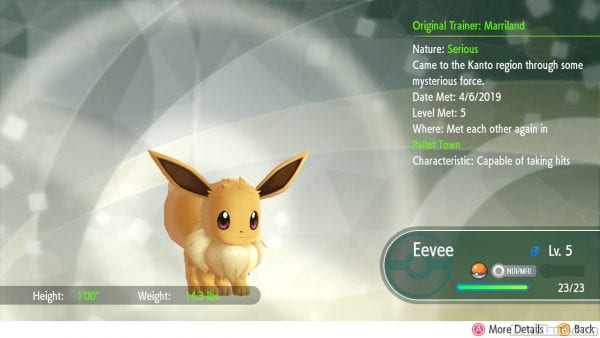
Magically, the Pikachu or Eevee occupies the middle slot for Poké Balls on the table in the lab. Weren’t there just two there a moment ago? Indeed there were. Go ahead and take the middle Poké Ball to receive your first Pokémon — either Pikachu if you’re playing Let’s Go! Pikachu or Eevee if you’re playing Let’s Go! Eevee.


You’ll be given the option to nickname your Pokémon if you’d like. Pokémon nicknames can be up to 12 characters long, just like Trainer names. You don’t have to give your Pokémon a nickname if you don’t want to and can keep it just as its species name, which is the default for most Pokémon that you catch — in this game, you have to manually rename most Pokémon instead of name them as you catch them.
Your rival, Trace, will pick the Pokémon from the opposite game as the one you’re playing, so if you’re playing Let’s Go! Pikachu, his starter Pokémon will be Eevee, and if you’re playing Let’s Go! Eevee, his starter Pokémon will be Pikachu.
As you make your way out of the lab, Professor Oak will give you both a Pokédex that he designed, which is used to record data on Pokémon that you encounter and catch.
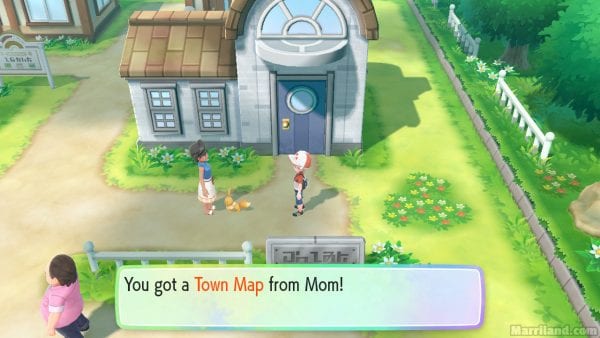
Upon exiting the lab, your mother will be waiting for you outside and will admire your new Pokémon. She’ll give you a Town Map, which is a Key Item that can be used to view the entire Kanto region — the part of the Pokémon world that this game takes place in.
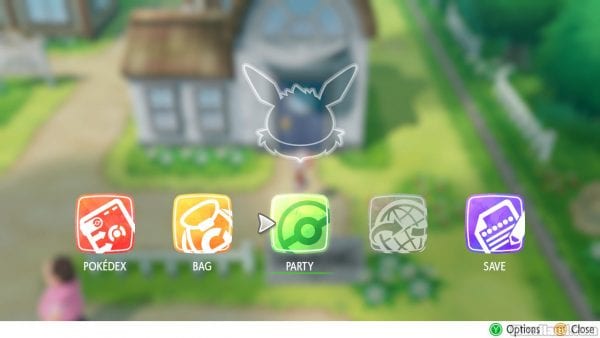
You can access your menu by pressing the X/▲ button on the Joy-Con or by shaking the Poké Ball Plus. From there you have access to several options:
- Your Pokédex is a catalog of all of the Pokémon you’ve seen or caught (including ones you’ve evolved). You’ll have more data on Pokémon that you’ve actually managed to catch compared to ones that you’ve only seen.
- Your Bag stores all of your items as well as your Pokémon. It is broken up into several sections, with Key Items available from the top section.
- The Pokémon Box stores all of your Pokémon, including the ones in your party. You no longer need to rely on accessing the PC in a Pokémon Center to swap around your Pokémon.
- The Medicine Pocket stores all of your healing and restorative items. It’s a good idea to keep a good stock of healing items for Trainer battles, although you don’t have any just yet and really won’t need any for a bit.
- The TM Case stores your Technical Machines. These are multiple-use items that can teach your Pokémon various moves. Not every Pokémon can learn every TM, but there are a lot of great moves that can be taught via TM, so definitely make it a priority to see if any of your Pokémon can learn TMs that are recommended throughout this walkthrough.
- The Power-Up Pocket stores various items that can power up or evolve your Pokémon. You’ll find vitamins such as PP Up in here to raise the PP (Power Points) of your Pokémon’s moves as well as evolutionary items that can evolve certain Pokémon.
- The Candy Jar stores Candy, a new category of items exclusive to Let’s Go! Pikachu & Eevee, which power up your Pokémon’s stats.
- The Clothing Trunk stores clothes for both you and your partner Pokémon. You’ll be able to get more clothes and accessories throughout the game.
- The Catching Pocket stores Poké Balls to catch Pokémon with as well as different types of Berries to help make catching Pokémon easier or more rewarding.
- The Battle Pocket contains any X Items such as X Attack, which gives your Pokémon a temporary stat boost during a battle, in addition to Mega Stones at the end of the game to Mega Evolve your Pokémon.
- You can move your items by pressing R/L and sort your items in each pocket by pressing Y/◄.
- The Party menu shows all of the Pokémon that are currently in your party and available to fight in battles. You can have up to six Pokémon in your party, but more can be stored inside of your Pokémon Box, which can be accessed from this menu by pressing Y/◄. You can also reorder your Pokémon by pressing R/L — the Pokémon in your top-right slot is the Pokémon that you will lead each battle with.
- The Save option allows you to save your game, which is very important. Your game will be preserved in the Nintendo Switch’s sleep mode if you need to take a break or step away from your game for too long, but it’s still a good idea to save every now and then just in case.
- You can also access the Options menu by pressing Y/◄ here, which has all sorts of options, including options for linking with Pokémon GO, changing text speed, changing controllers, and also changing the Battle Style if you’re looking for more of a challenge.
More options in the menu will be unlocked shortly, but that should give you an idea of what everything does for now.
Now that you have your new Pokémon following behind you, head north, back to where Professor Oak was earlier, onto Route 1!